
We’re guessing you’re here because you want to stand alongside some of history’s geniuses of oil painting. You want to be rubbing shoulders with Van Gogh, Rembrandt, Vermeer, and Da Vinci, in the pantheon of the greatest oil painters of all time.
Taking the first steps in any endeavour can be a little daunting if you aren’t yet familiar with the best practices and methods for improving your skills. This is particularly true in painting, where you look at some of the work contributed by some of the world's best artists.
The longer you spend admiring some of their creations, the more behind you can feel. Just know this is completely normal and you can pick up a thing or two by marvelling at their art.
This article will collect all the tips and tricks that you’ll need to get started on your journey into oil painting, saving you from needless hours of trial and error.
This timeless art form has been and continues to be cherished by artists throughout history for the creative opportunities it presents with its slow drying that allow you to easily manipulate the paint on your canvas.
Considering the right considerations regarding your workspace, techniques, and approaches from this early stage will help you develop your own artistic style and enjoy the process even more!


What is Oil Painting?
Oil paint is a particular type of painting medium that is known for its viscosity, its slow drying time, and its use by some of the most important painters in history.
It’s made—as you can probably expect—from oil—vegetable oils, primarily linseed oil, walnut oil, or poppy seeds. Oil is a great medium for suspending colour pigments because it has a very high saturation. This means that oil paints can hold a lot of colour, so they become incredibly bold on the canvas.
In comparison, watercolour – in which pigments are suspended in water – does not produce such vividness of colour.
Another characteristic of oil paint is that it is very slow-drying, to the extent that some colours don’t dry fully even after months. This means that artists can retouch and correct their works after much time has passed.
In comparison to acrylic paint, which is incredibly fast drying, this feature of oil painting makes it ideal for beginners who shouldn’t need to rush.
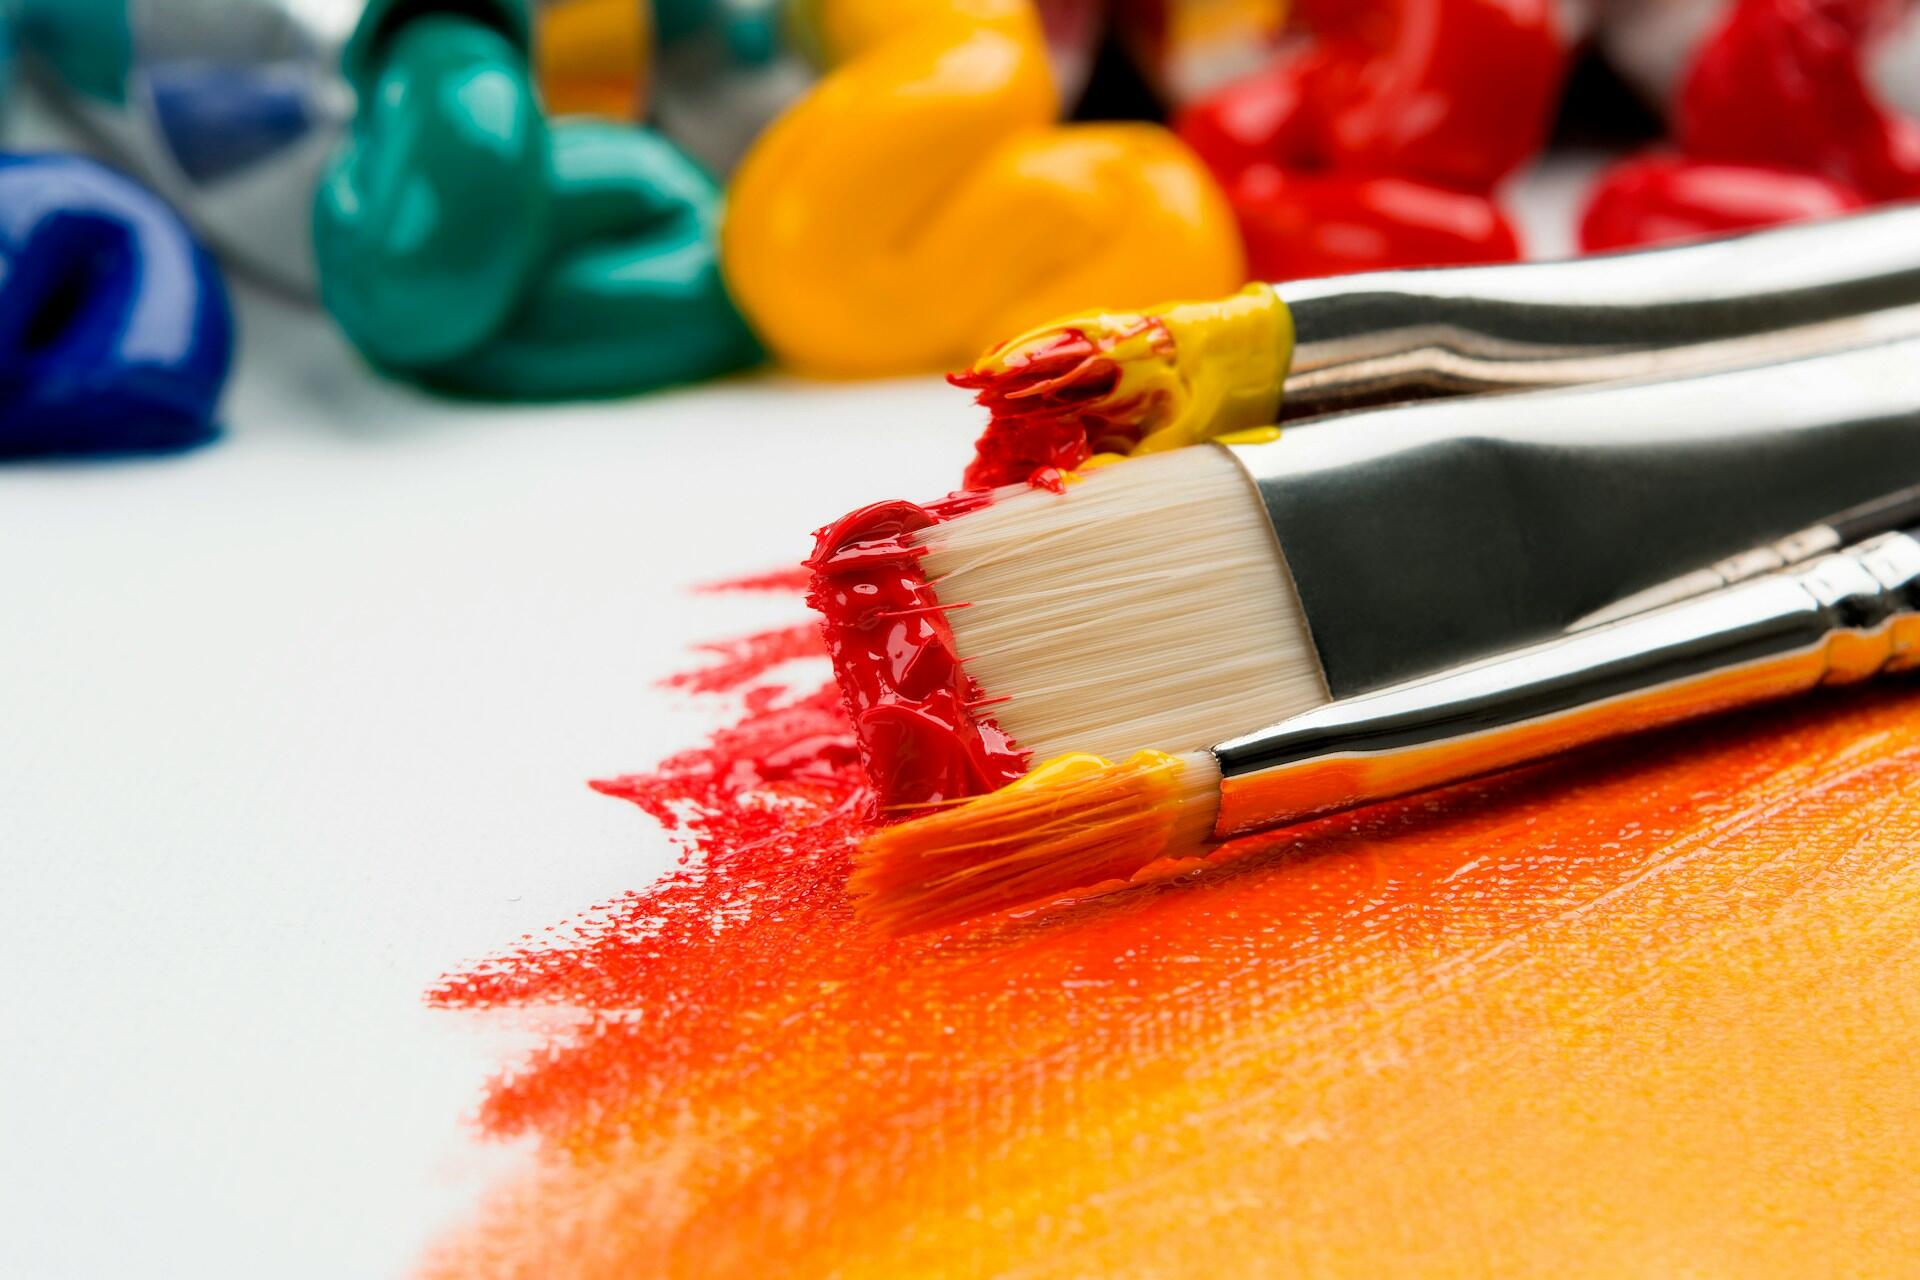
Oil painting is rapidly gaining popularity among beginners who are eager to learn a new medium and make stunning artwork. To start, you need a good-quality canvas and a versatile palette to mix your colours. Using a variety of brushes is essential, as different sizes and shapes help you achieve various effects.
Many beginners use linseed oil as a solvent to thin their paints and create smooth, flowing textures. The medium's slow drying time allows artists to view and adjust their work over time, making it perfect for those who want to learn and improve steadily.
It's crucial to choose good quality brushes and white paint to ensure vibrant results. You can make unique pieces that reflect your artistic vision by experimenting with different mediums and methods. Whether you're a seasoned artist or just starting out, oil painting offers endless possibilities to explore and enjoy.
Understanding Oil Painting Basics
Once you have a design in mind, it's difficult to be patient when all you want is to arrive at the end product and have your friends and family in awe of what they are witnessing.
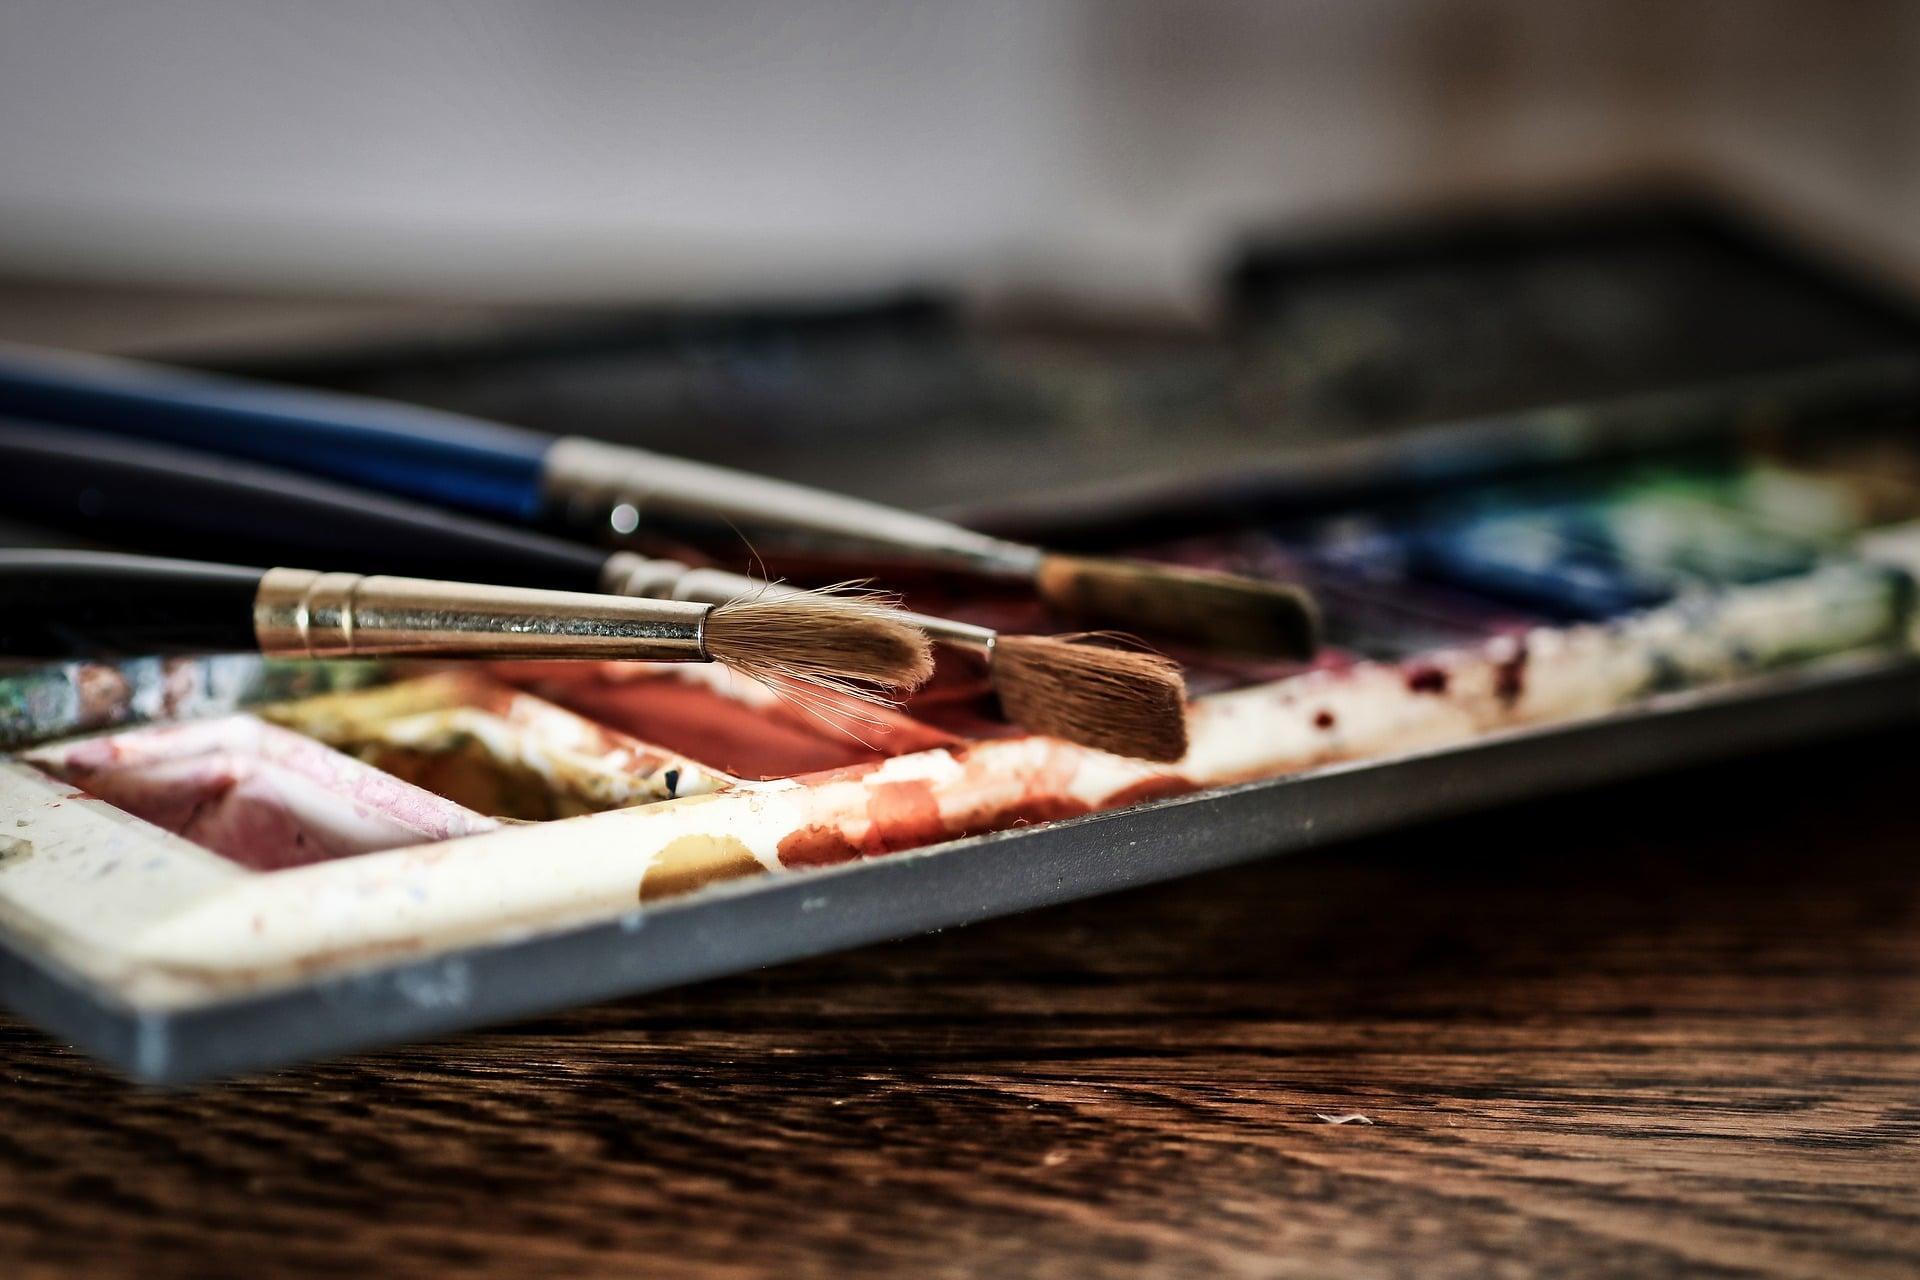
Before you pick up the brush, you might want to know a little more about a number of materials and tools. That is, of course, if you want to make sure that your creation resembles the idea you already have in your head.
For instance, even your selection of a painting surface, also known as the support, plays a role in how your painting will appear. Canvas is the most common option, but other options are also available, such as cotton and linen variations.
Each surface presents its own set of pros and cons, so make sure to choose one that best suits your needs. For example, a cotton canvas is budget-friendly option but doesn't last long, whereas linen is more durable and has a longer lifespan.
If you ask an oil painter, they will likely tell you to spend some time learning alongside a tutor or other art students in order to gain an understanding of colour theory and mixing styles before getting started.
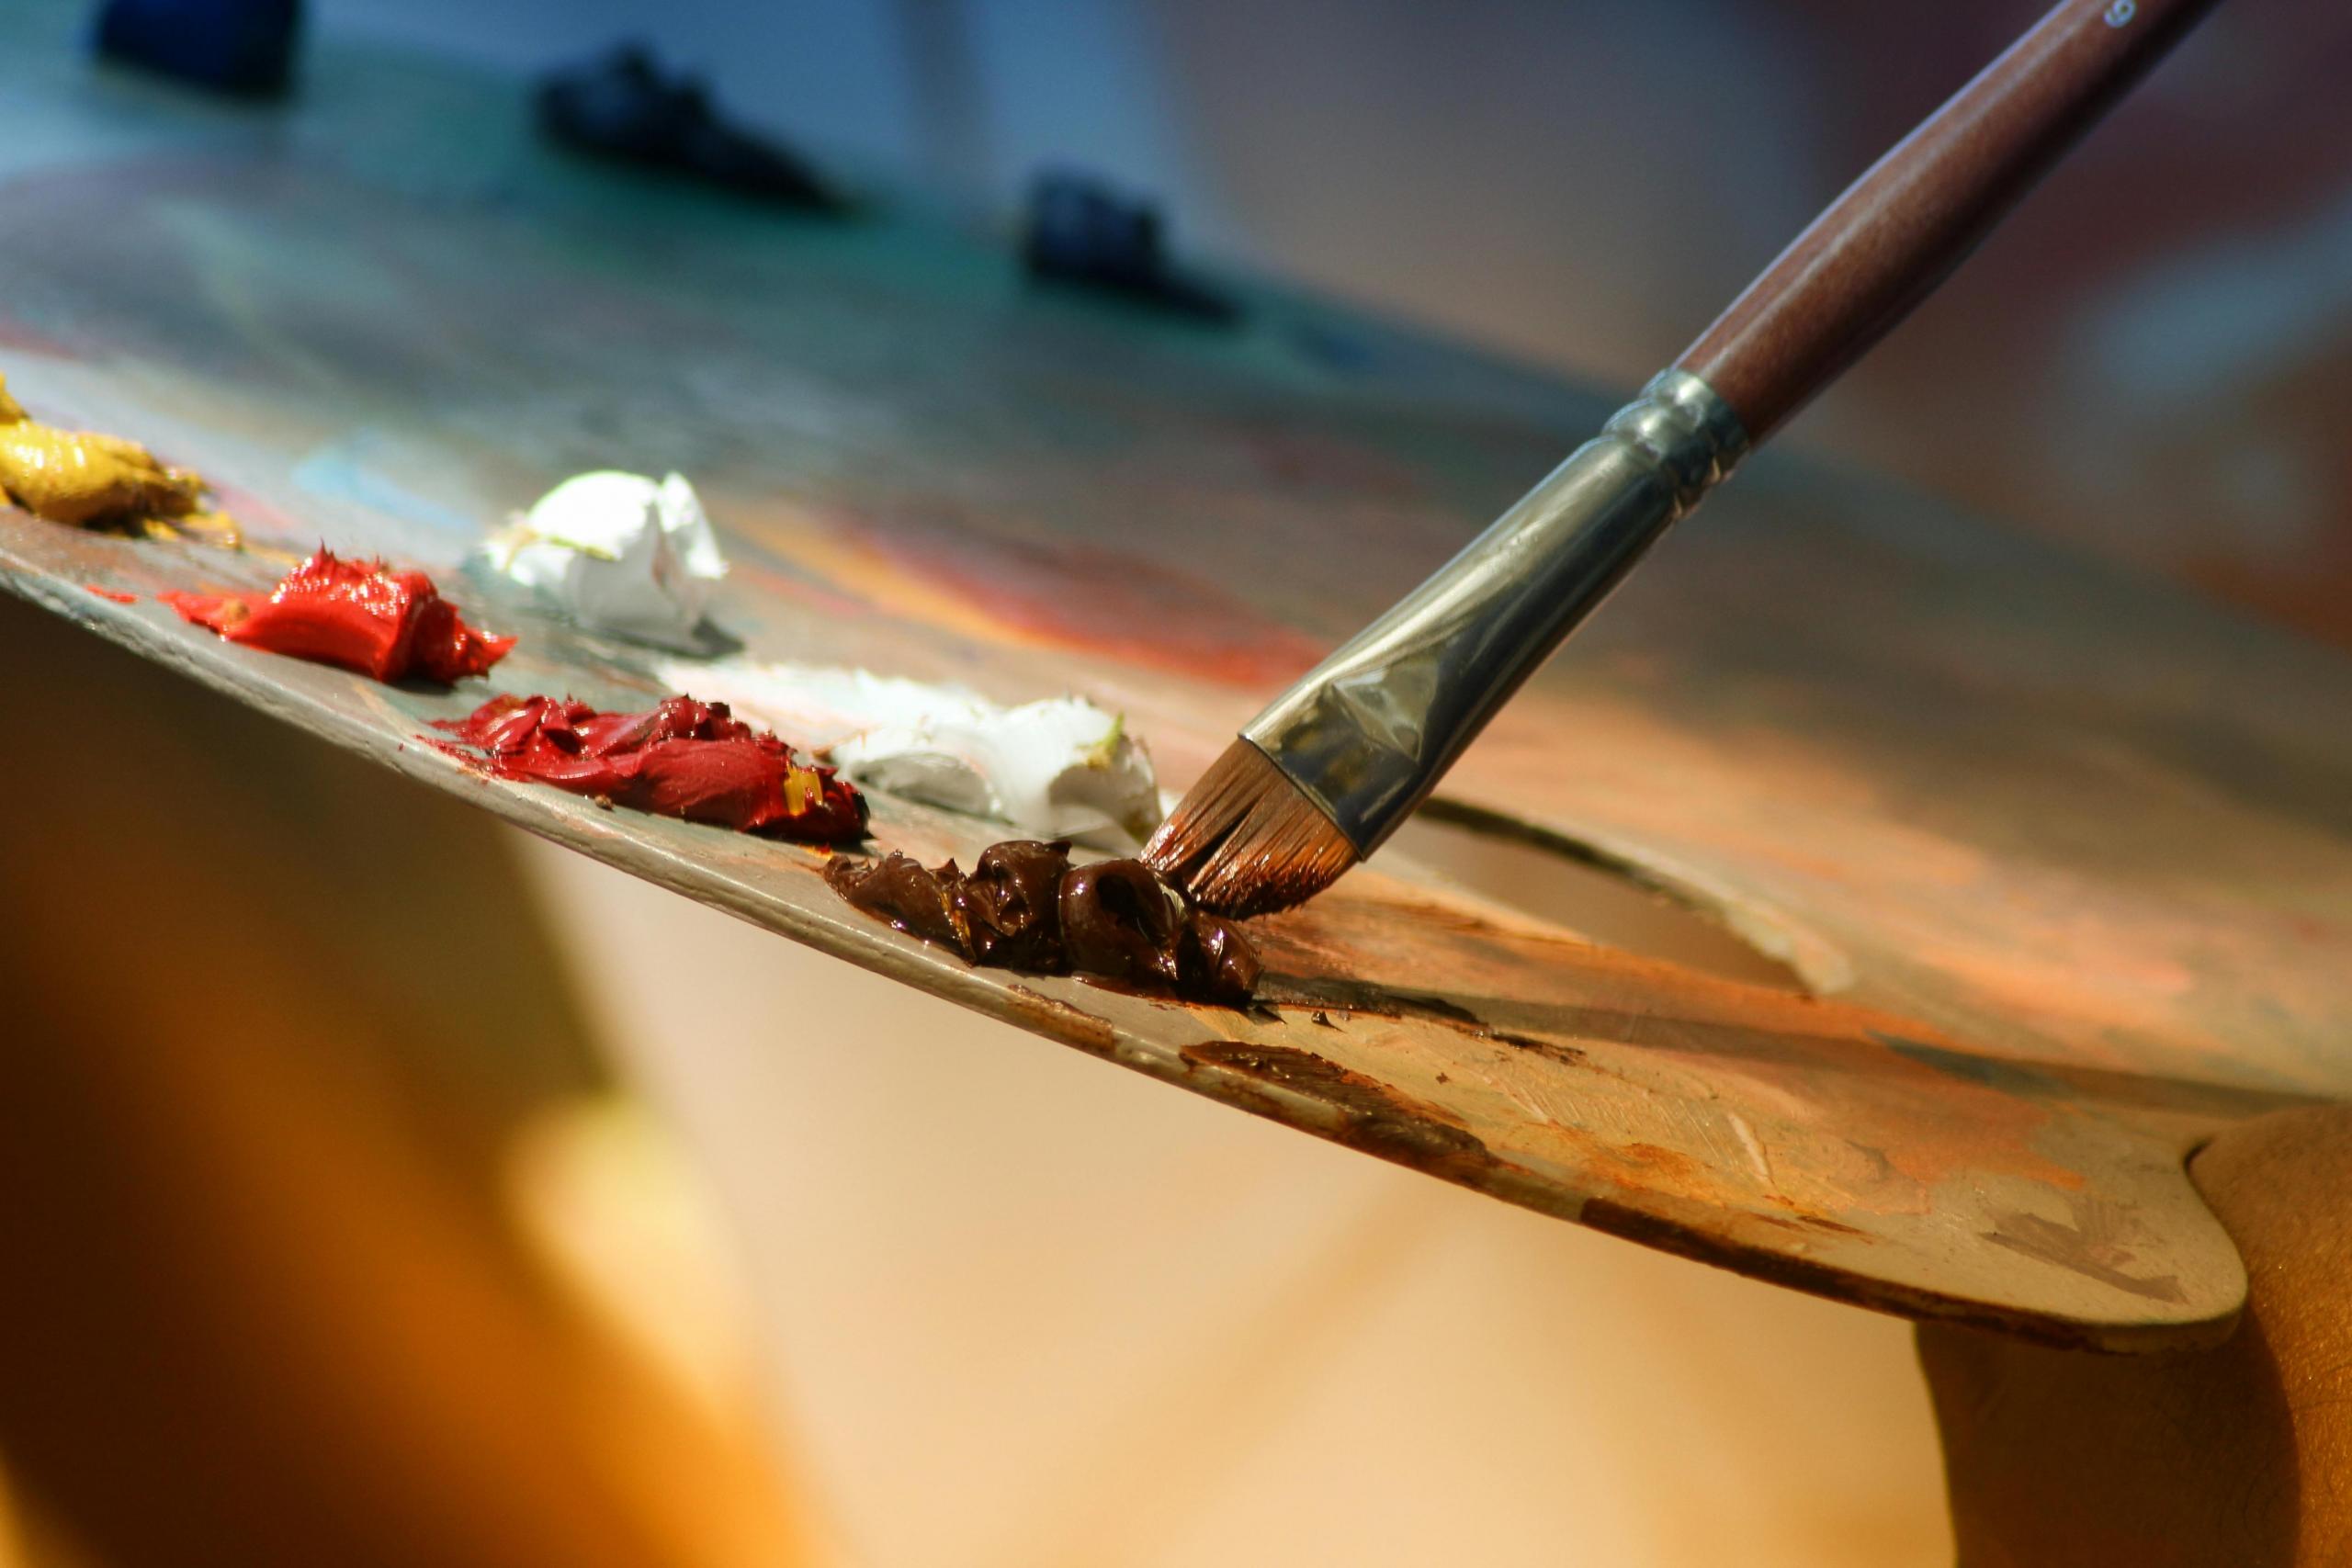
You may remember your messy experiments from play school; well, even at the highest level, blending colours follows the same principle. By mixing colours, you can make a wide array of hues to generate secondary and tertiary colours.
The main points you might want to jot down and revisit once you get started are that mixing white produce tints while adding black creates shades. Now, you don’t need to memorise each combi, which allows you to achieve the desired vibrancy and depth in your artwork.
Oil Painting Techniques for Beginners
As an aspiring oil painter, mastering various techniques is going to be crucial for unleashing your creative potential.
Don’t worry if you find that you are slower taking to a particular technique than another. Even some of the biggest names in painting may only excel at one or two!
You’ll be glad that you waited to read this article before you jumped right in and got started. Knowing the different styles will give you a sense of what’s possible with oil painting.
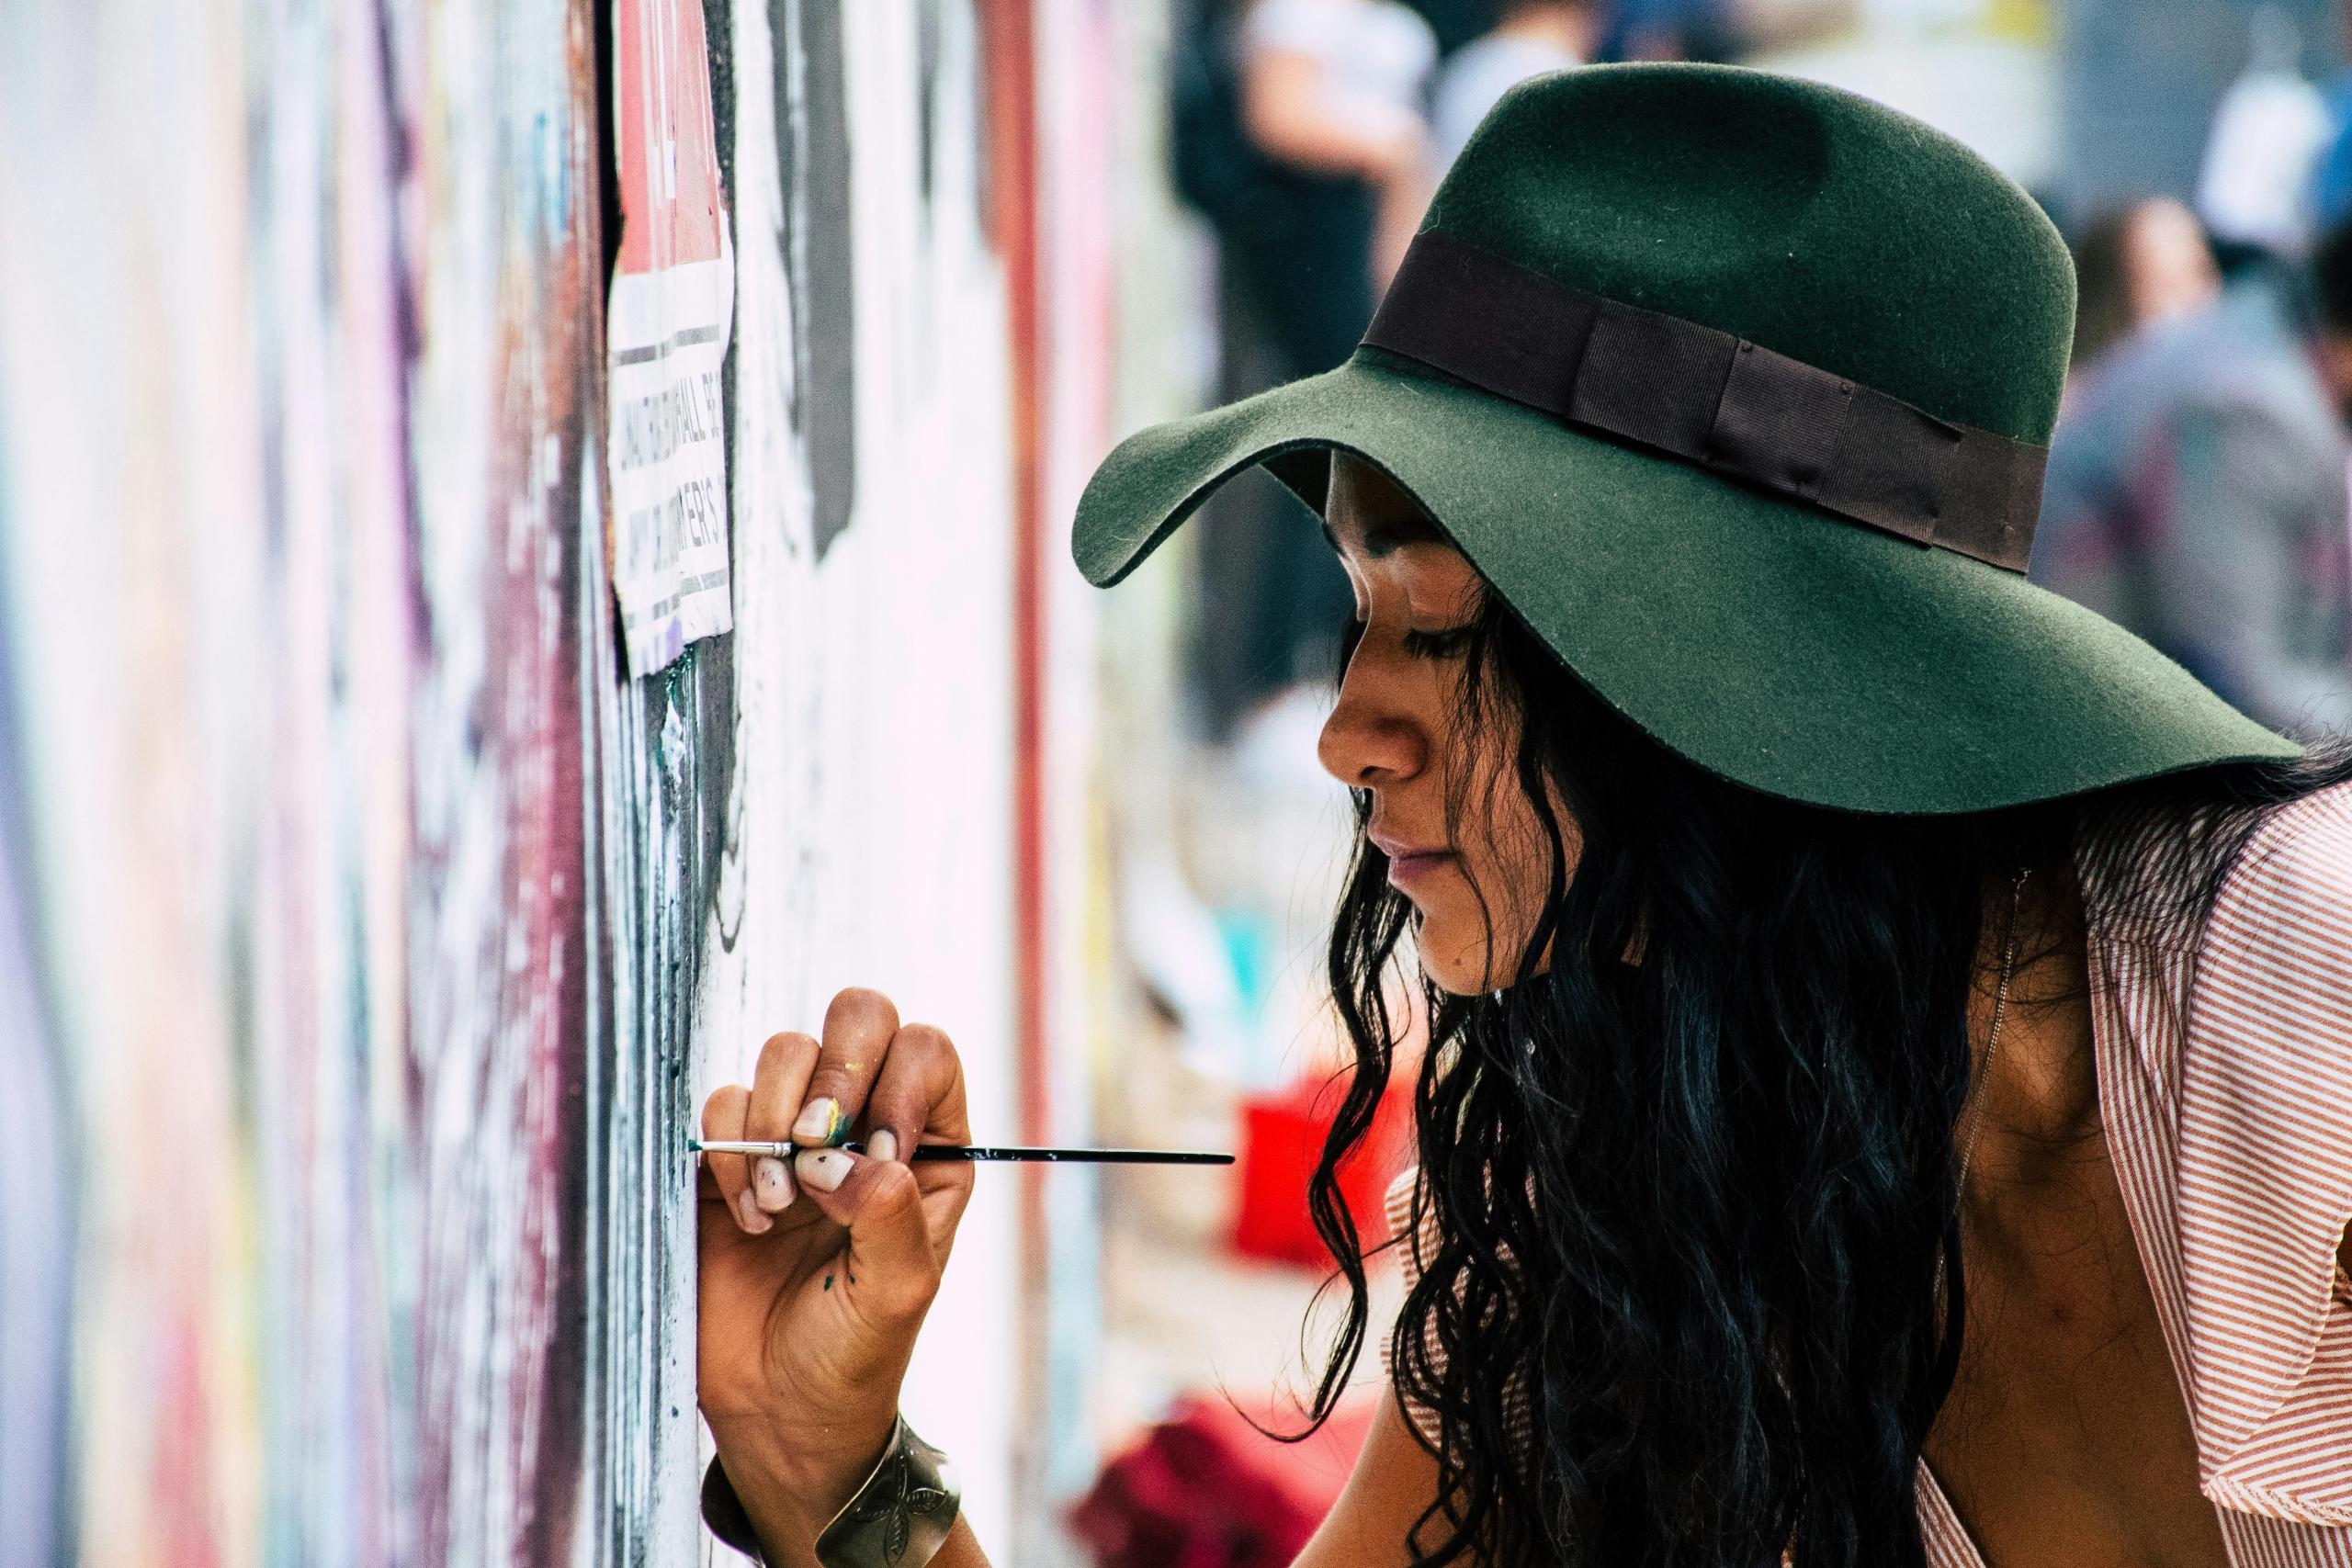
Working with Brushes
The manner in which you handle and manoeuvre your paintbrushes can greatly influence your artwork. Holding the brush near the bristles enables you to achieve details and delicate lines, whereas grasping it back permits more dramatic and expressive brushstrokes.
Make sure to allow yourself to try out different angles and pressures with the brush to attain the effects you desire, like blending hues, crafting textures, or outlining boundaries.
There are plenty of resources and tutorials out there that will introduce you to different brushstrokes and help you get started with your oil painting!
Using a Palette Knife
A palette knife offers a unique approach to oil painting, allowing you to apply thick impasto textures, make broken color effects, and even blend colors directly on the canvas.
Go wild and explore all kinds of different methods like sgraffito (scratching into the paint) and double-loading the knife with two colours for gradients.
You can see the details of all this in our article on oil painting techniques for beginners, but let’s run through some of the basics here.
Wet-on-Wet Painting
This technique involves applying fresh paint onto previously applied wet paint, allowing the colours to blend and intermingle naturally. Start by wetting your canvas or paper, then add subsequent layers of paint while the surface remains damp.
This method produces soft, fluid transitions and can make interesting, spontaneous effects.
By adding these styles of painting to your arsenal as an oil painter, you’ll have the ability to replicate whatever your imagination comes up with, down to the smallest detail.
Make sure to have fun with the learning process and play around with the different methods to see what sort of effects you can bring to your work.
You may even want to decorate a full sheet with different patterns in order to grow familiar with the different techniques before trying them out in a painting. Find out more about starting out in oil painting!
Safety and Workspace Considerations
Believe it or not, there are actually a number of safety considerations that you will also need to be aware of as a beginner. Once you get into the habit of these precautions, they will become second nature to you, and you likely won’t even have to think about them, but it's better to pick up good habits from the offset.
You may already have an idea in your head of our dream place that you can retreat to when painting and forget about the troubles of daily life.
But, before you get too set on a workspace, its important that you make sure that there's enough airflow. This is really important when you are working with oil paints and solvents.
One pro tip that may just save you from disaster is to keep the windows open while you're painting and even after to let in air and avoid any fumes building up. Another great way to prevent this is to opt for odourless mineral spirits like Gamsol over turpentine.
Since you are at the beginning of your journey, you can only imagine the amount of paint you will use as you progress with your new hobby. For the environment’s sake, avoid pouring oil paints and solvents down the drain when you are getting rid of them; instead, put them in sealed metal containers!
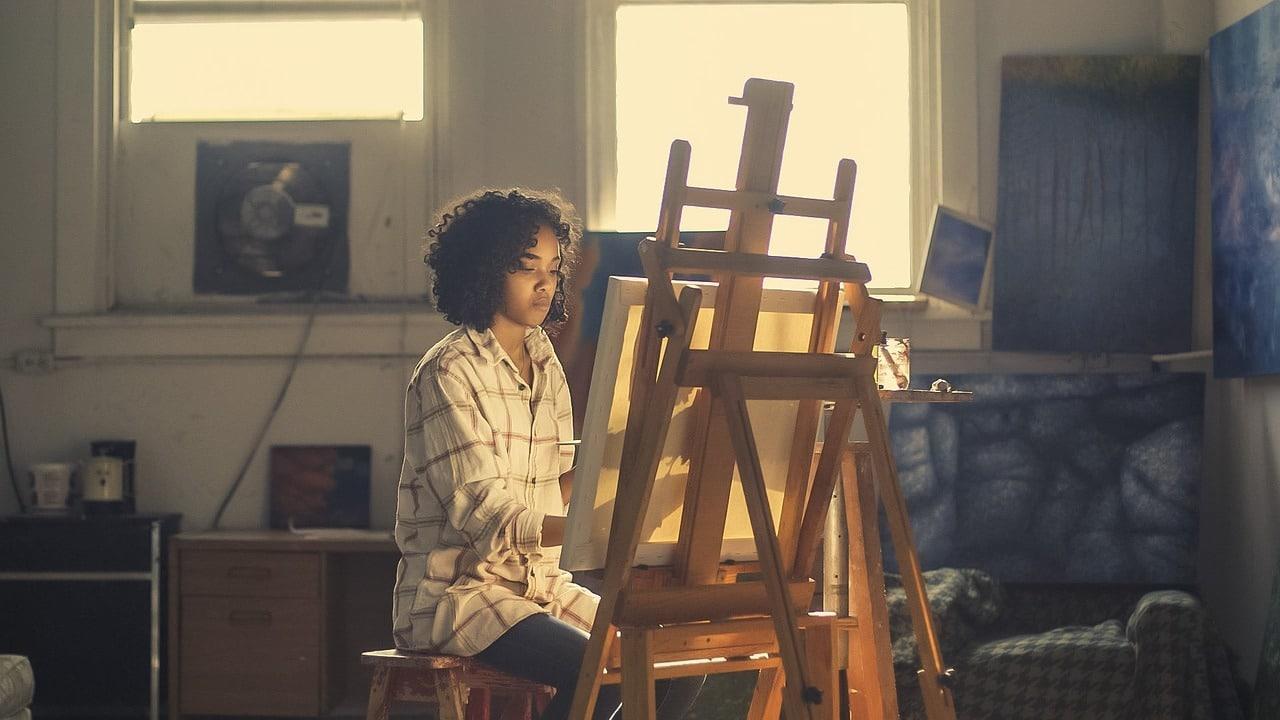
Practicing and Developing Your Style
While as a beginner, you might have an idealistic image in your head of an endpoint where you are capable of creating a masterpiece with oil paints, the truth is that there is a final destination with painting.
It’s a learning process that never ends, so you should make sure to enjoy the process and get lost in honing your style is an aspect of the journey as an oil painter.
One effective method involves painting the subject by revisiting a scene or motif and exploring different styles, color schemes and brushstrokes. This repetition helps you improve your skills while uncovering your preferences and crafting a unique style that you can carry with you throughout your work.
The flexibility of oil paints lets you achieve an array of effects ranging from blended strokes to thick impasto textures. If you find a particular technique works for you, you can also seek inspiration from somebody who has mastered it and gain some inspiration for your future work.
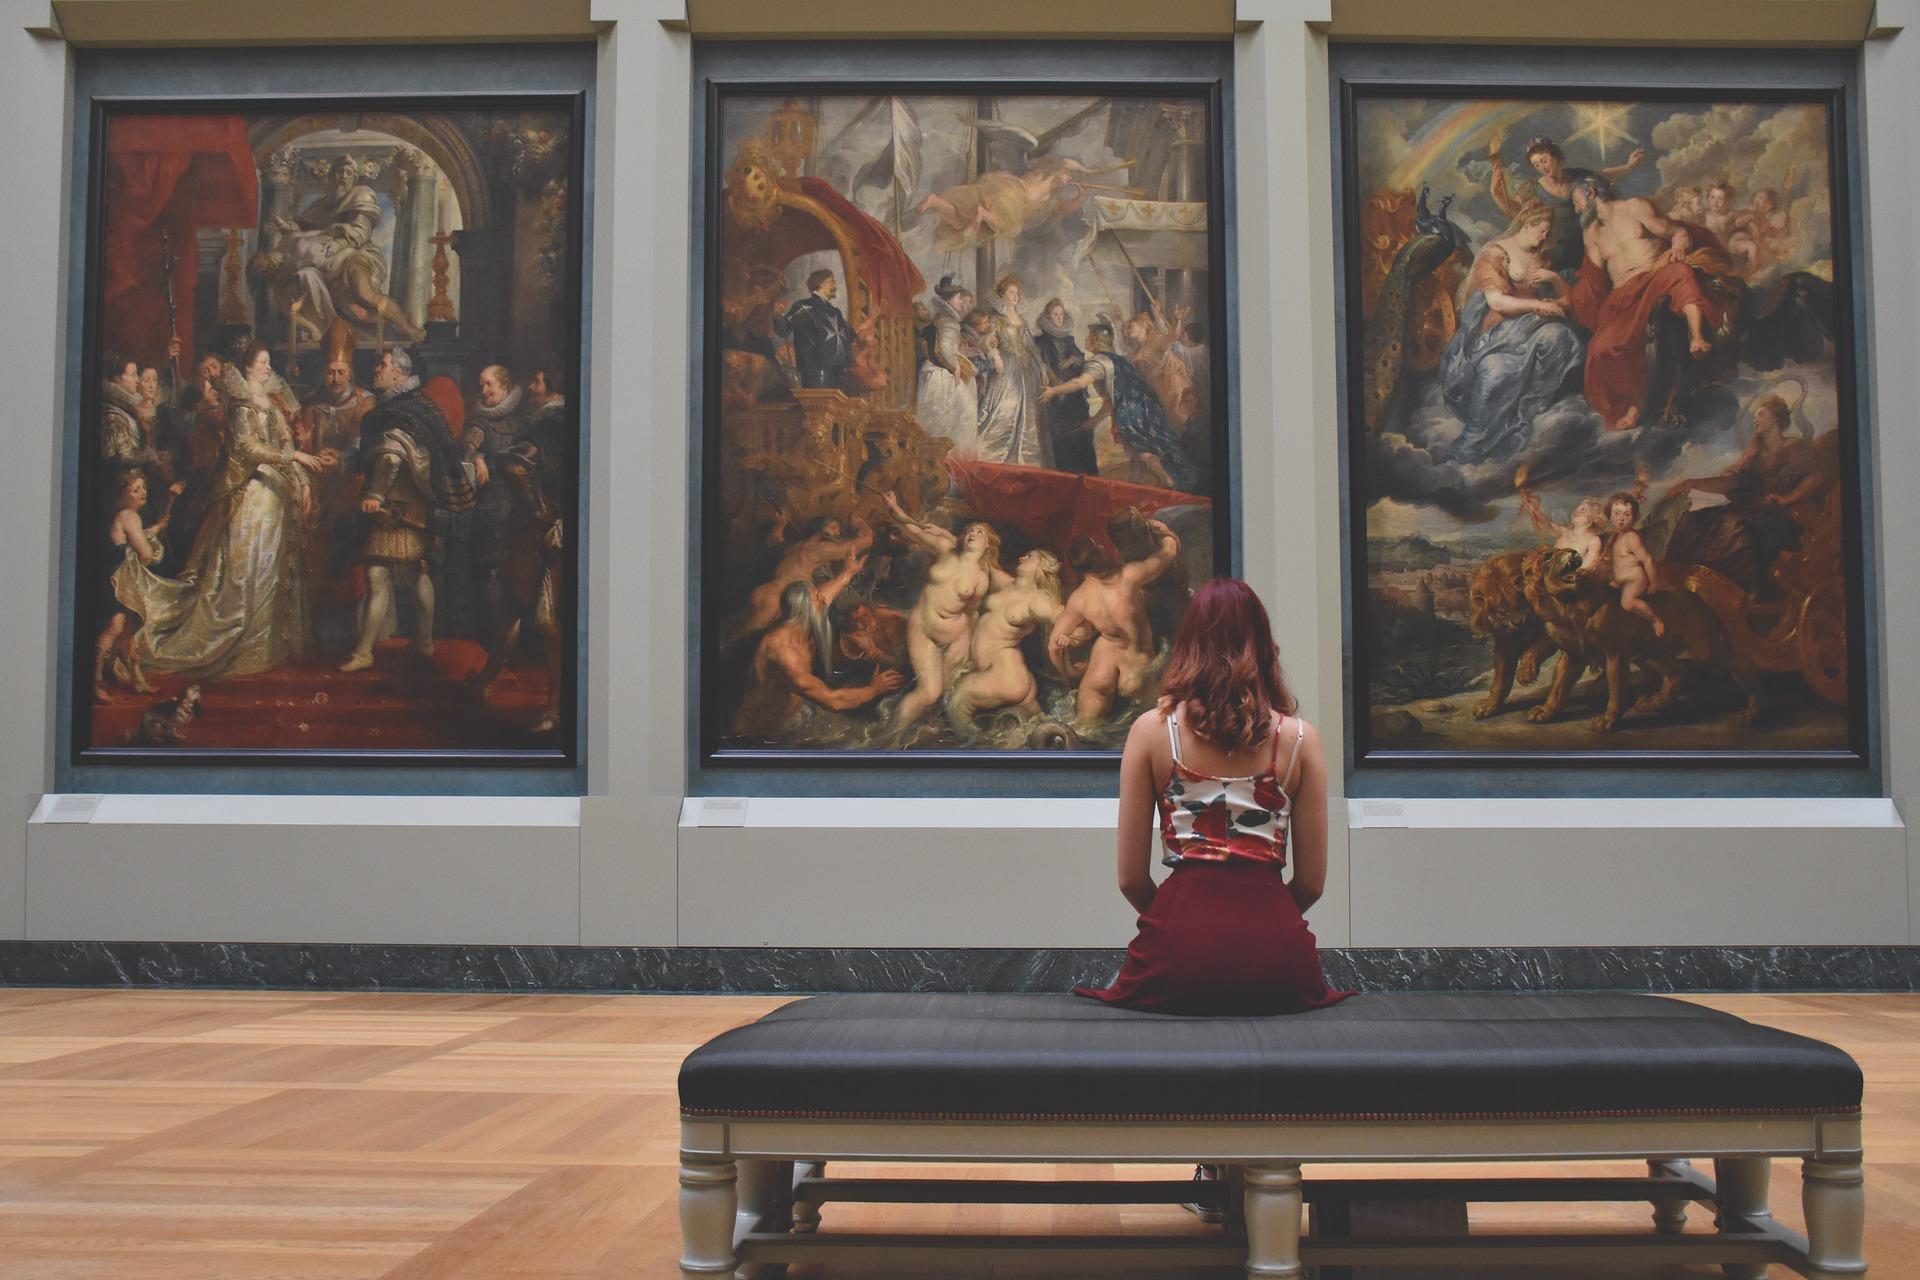
Having a mentor or idol can go a long way in helping you to model your style off. So whether thats an accomplished oil painter or an art tutor, there is much to be learned. There really is no better place to look for inspiration and guidance than in the history of art itself.
From Da Vinci and Rembrandt to Van Gogh and Wassily Kandinsky, history is full of oil paint artists – who are probably the reason that you wanted to paint in the first place. By embracing their approach to brushwork styles and textures, you will unveil new ways to convey emotions and stories through your artwork.
Take Oil Painting Lessons with Superprof
As an artist, you need a high-quality palette, canvas, and brushes to create stunning works of art, but you also need guidance if you are going to improve in a timely manner!
Whether you're a beginner or more advanced, private tutoring with Superprof can significantly enhance your learning experience and accelerate your progress.
There are plenty of art teachers specialising in oil paints who list their services on the platform and are capable and willing to coach you in your new hobby. Start learning from an experienced mentor by booking a lesson with one of Supeprof's tutors as soon as today!
Private oil painting lessons with Superprof allow you to use the best mediums and solvents, ensuring your artwork is of the highest quality. Tutors can help you understand the intricacies of mixing colours and the importance of using white to make depth and highlights. They can also guide you on properly using linseed oil and other mediums to achieve the desired effects in your paintings.
Beginners often find it challenging to navigate the world of oil painting alone. With the help of a Superprof tutor, you can learn essential techniques and gain confidence in your abilities.
Tutors provide personalised instruction tailored to your specific needs, helping you to view your progress and identify areas for improvement. This one-on-one attention is invaluable in developing your skills and building a solid foundation in oil painting.
A private tutor can also introduce you to various styles and methods used by professional artists, expanding your repertoire and inspiring you to create unique pieces. They can show you the proper way to mix different mediums and use brushes effectively, ensuring that you achieve the best results on your canvas.
Accelerate your learning process by practising best practice methods from day one. By learning alongside a tutor from Superprof you can rest assured that you won't have to waste any time a needless trial and error process.
Summarise with AI:
Did you like this article? Leave a rating!