
The Marvel Universe has given us many memorable characters that feature in a staggering number of tales. Since that universe expanded into cinemas - or should we say 'exploded' into cinemas? - more people than ever are enamoured with its ongoing quest for good over evil. Admiration for the perpetual struggle for goodness is often secondary to the characters themselves. The Hulk, Nick Fury, Loki and Captain America all have legions of devoted followers and entire Fandom pages dedicated to their profiles. Naturally, Groot has a page, too. Groot's popularity grew exponentially after the 2008 Guardians of the Galaxy film. True to form, many aspiring artists rushed to their sketchpads to recreate him. In some ways, drawing Groot, with all of his long lines and minimal colouring, is not difficult. Getting into the details makes rendering Groot a bit more challenging but Superprof delivers this step-by-step guide to help you draw as many versions of Groot as you'd like. Are your pencils sharpened? Is your Wacom connected? Let's learn more about Groot and how to draw him.


Where Groot Came From
We don't mean that as in "Where are Groot's roots?"; we all know that he is extraterrestrial from Planet X. Groot's origins in the Marvel Universe are fascinating. In his early days, he was substantially different from the character we see in all those films we love. It's worth taking a look at how Groot came to be, what his original intentions were on Earth and see how he changed into the morally conscious creature we recognise him as today. 
Drawing Groot: His Basic Outline
The first steps to drawing Groot are much the same as drawing an ordinary human figure: three rough circles joined by a vertical line that represents the spine. Your first circle should be a vertical oval to represent his head. About an inch beneath it, sketch your second circle-like shape. It should be both wider and longer than your first oval; indeed, you could even make it a square with rounded corners. You might want to draw the top line as an arc rather than straight, though. That will give a better impression of Groot's weak shoulder line. Finally, about three inches below the torso 'oval', draw an outline for the pelvis. For this rounded shape, you might aim for a loosely-interpreted heart: a rounded point at the base, with the bottom line flaring out to meet the top line's rounded ends. Now, connect your three rounded shapes with a vertical line, starting at the base of the head, all the way down to the top of the pelvis. 
Adding Details to Your Groot
Groot has big eyes and a small, downturned slash of a mouth. The latter is easy to draw but the eyes need a bit more care. Centring each eye in its quadrant, draw two, large. horizontal ovals. Remember that, for now, you're only doing outlines; you'll shade his eyes to give them depth later. With the facial features sketched in, it's time to complete his head. Starting at the bottom of the oval, trace your outline to just above his mouth, and then break from the oval line to extend outward and upward on either side. Those lines should extend about three to four inches above the oval; giving the appearance of the paper wrapping a bouquet of flowers. That description is not so far off when you consider that topping Groot's head with jagged edges finishes this sketching stage. From here out, it's a matter of drawing long, flowing lines:
- draw two sloping lines to connect Groot's head to his shoulders
- follow that with two smooth lines to connect the pelvis and torso, from just under the arms to the crests of the pelvis
- flesh out the stick-arms with long strokes, making sure the arms reach below the pelvis
- drawing the hands can be a bit tricky but remember to over-size them, in proportion with the rest of him
- the legs are next; the lines should also be long and flowing but not exactly straight. Picture bell-bottom trousers, as a model
- drawing tree bases is far easier than drawing feet; the bell-bottom's flared cuffs serve as an example here, too
Now that our Groot is fleshed out, we only need to add texture and colour to bring him to life. Slashing your sketch with oblique lines is a good way to go about it, noting that his torso is somewhat like a breastplate drawn in a loose herringbone pattern. Now, we only need to add colour. Fortunately, because Groot keeps with the tree theme, you only need 2 shades of brown - a darker one for the texture and the lighter one for overall hue; black for contrast and a splash of white for the eyes. That palette is for a basic Groot. Nobody says you can't get adventurous in your colour scheme; you may, for instance, use tinges of red to make his eyes pop a bit more or around his joints, to give him depth. You could also hint at other hidden characteristics with colour. 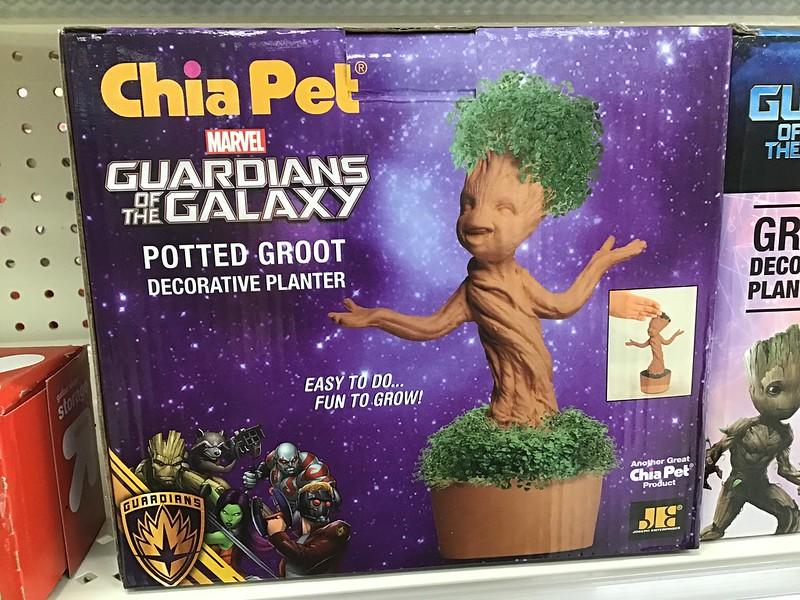
Drawing Baby Groot
If you've mastered drawing Groot, you already know how to draw Baby Groot. Nevertheless, we can add a few pointers to make your art even better. As you surely know, when Groot sacrificed himself at the end of Guardians of the Galaxy, Rocket Raccoon planted a surviving twig which grew into Baby Groot. In total defiance of plant science, we might add... Some MCU fans are mad for Baby just as he is while others find the character annoying. Luckily, he is growing into becoming a fully-fledged member of the Guardians and, with the other characters' influence, he may evolve yet further. All of that has little to do with drawing Baby Groot; his likeness is what fans find adorable. Baby Groot doesn't have quite as much texture and he's nowhere near as long but, in other ways, drawing him can be more challenging than drawing Groot. For one, he's a lot more curvy, and he's also anchored - that is, if you want to draw the potted version. He also has a bit of foliage and his crown is far more detailed. Baby Groot's face takes on the proportions of other anime characters - huge eyes, smiling mouth and open expression. Indeed, drawing this baby is quite a bit like drawing Kawaii.
Summarise with AI:
Did you like this article? Leave a rating!