
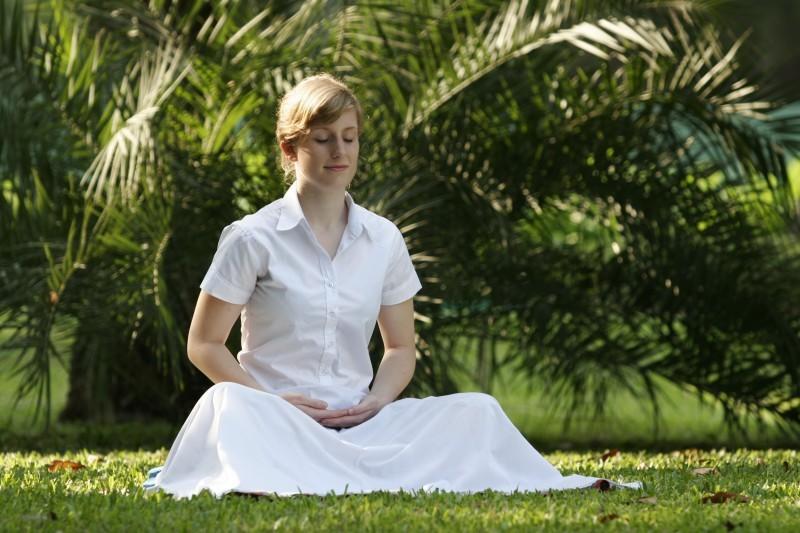
Lotus pose, or Padamasana, is often considered the ultimate yoga and meditation position for beginners to learn. This move is one of the most recognised yoga poses, and it’s so easy to learn!
Lotus pose is a great starting point for your yoga routine – and even just for a moment of meditation. It’s great for posture and opening the hips, and a great way to start focusing on the meditative side of yoga.
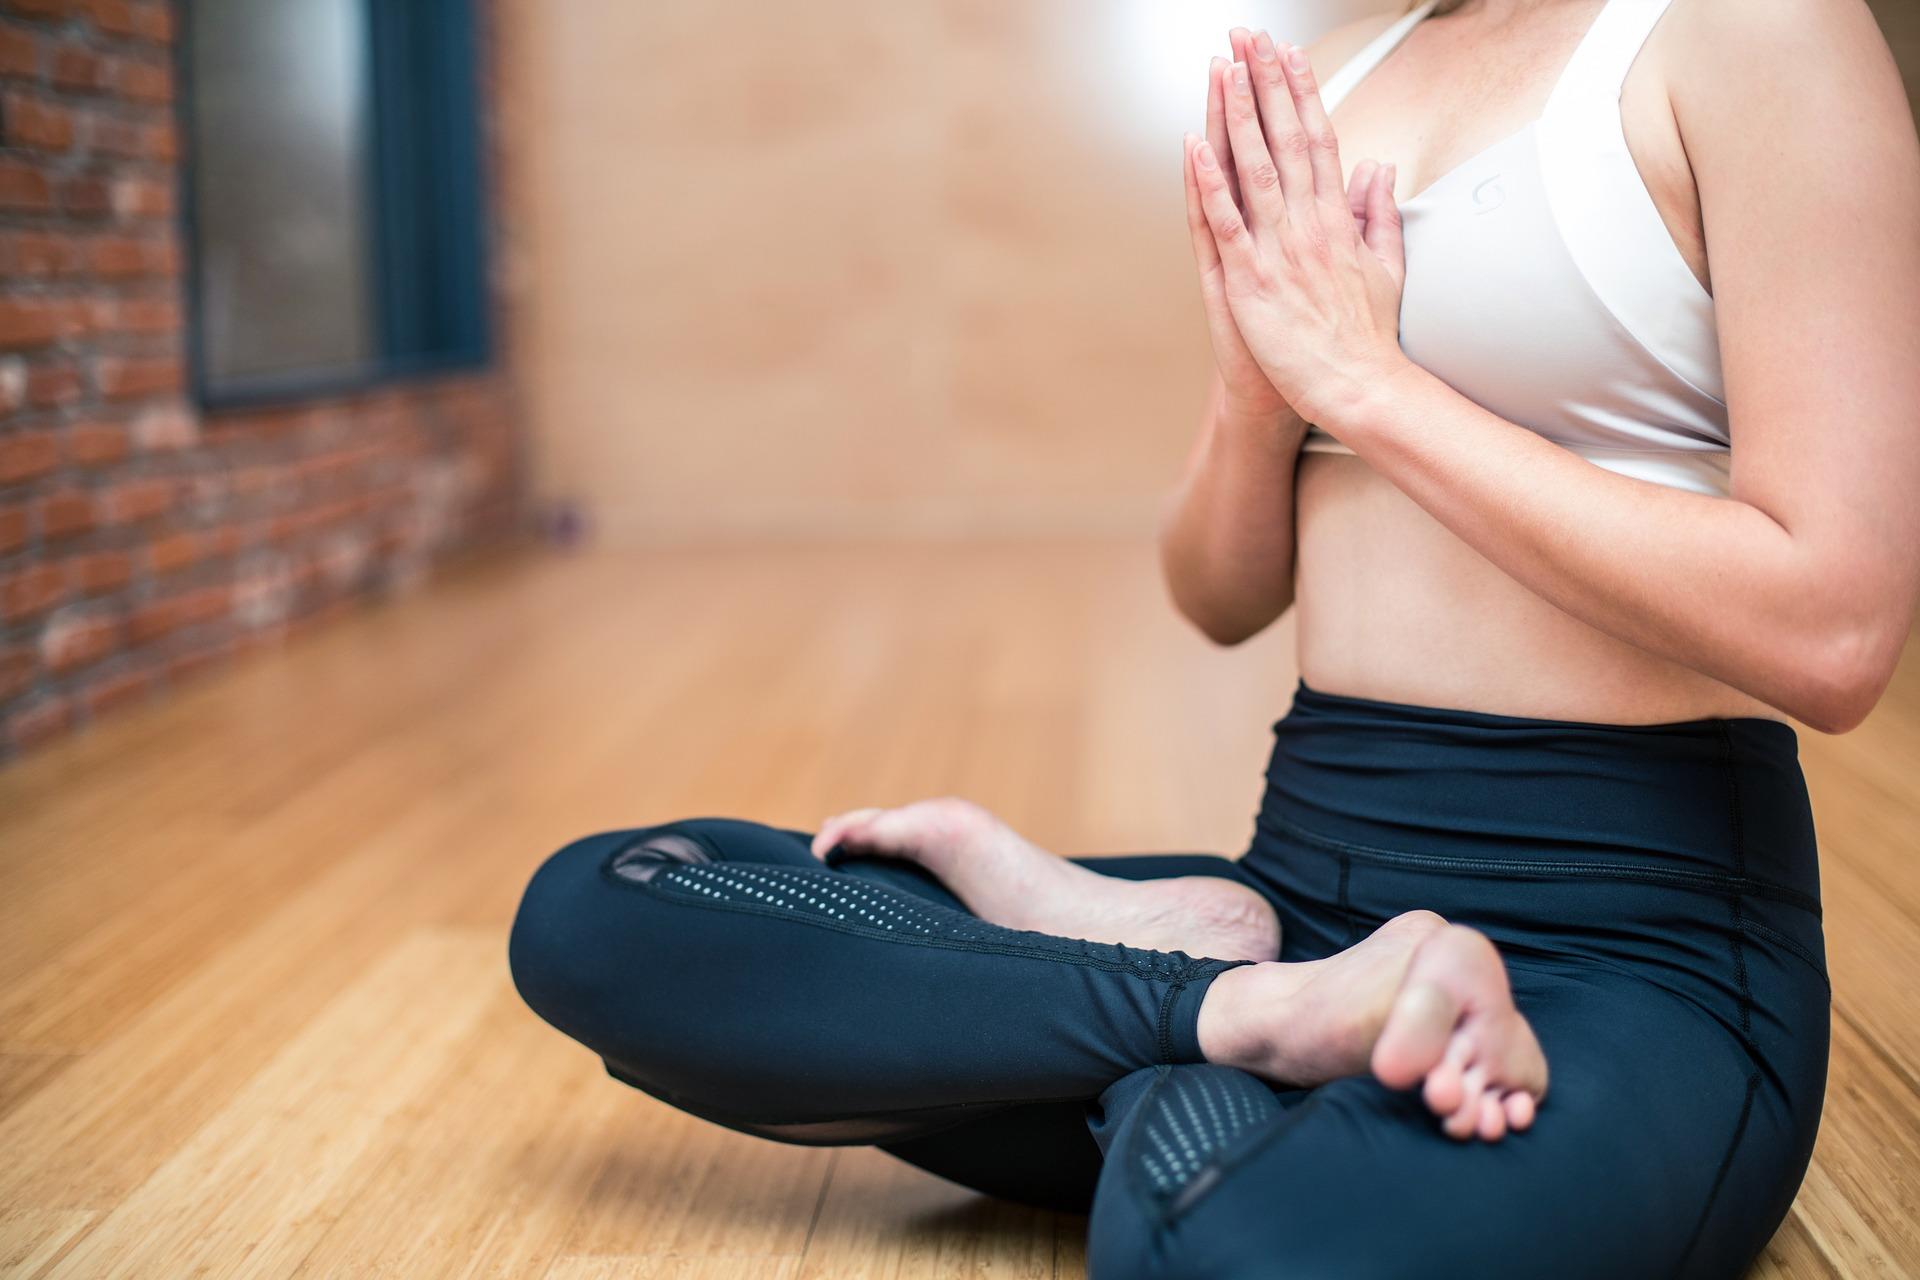
Seated asana is a great way to relax as it straightens the spine, relaxes the shoulders and opens up the hips. It’s a wonderful way to sit down and chill out at any moments in the day when you feel a bit tightly wound!
We’ve put together a step-by-step guide to show you exactly how to practice your lotus pose, and how to perfect it so that you can start incorporating it into your daily life.


Prepararing
Before getting started with your yoga routine, make sure you’re wearing comfortable clothing that you can easily stretch and move about in. If you’re wearing clothes that are too tight, or even too loose and floaty, you won’t be able to move as easily and this will hinder your breathing and concentration. Check out our great blog on easy stretching before you start.
And remember, although seated poses aren’t particularly difficult compared to other poses such as warrior pose, you always need to practice yoga near me safely. For this, you might want to invest in a yoga mat if you don’t already have one, but this is more critical for more complex poses where balance is essential.
Once you’ve got yourself comfy and ready to go, come forward onto your mat and get started with the 5 detailed steps below.
Step-by-step Instructions
Step 1
First things first: get yourself seated on the floor with your legs extended out in front of you. Make sure your spine is straight and your arms are resting gently by your sides.
This is known as Dandasana, or Seated Staff pose and is an important foundation for seated yoga poses.
Step 2
Secondly, bend your right knee and bring the leg up and in, hugging it to your chest. Now bring your right ankle into the crease of your left hip – the top of your foot should be resting on the crease of your hip, and the sole of your foot should be facing up to the sky.
Step 3
Now bend your left knee, bringing it in so that it crosses over and sits on top of your right leg.
Make sure the left ankle is resting on your right calf, and that the sole of your left foot is also facing upwards towards the sky.
Step 4
This is the moment for you to really ease into your lotus pose and learn what feels comfortable for you.
Draw your knees closely together, as much as you feel is possible so that you are seated correctly. Lastly, push against your groin so that it feels as though it is pressing against the floor. Hold this firmly and engage your abs, maintain a straight back too.
Step 5
Once you’ve got these first four steps mastered, then you’re in good stead to start practising your lotus pose whenever and wherever you like!
It’s not always the easiest position to get the hang of, particularly if you’ve had trouble with your hips, knees or lower back in the past. But gentle practice will gradually increase your ability, and you’ll slowly perfect your Padamasana.
If you are having trouble, there are lots of other suitable poses to get you started with meditation and relaxation. Trying your lotus pose for a few seconds and releasing is enough to start off with, and you’ll begin to build up new strength. And you never know, you might find that lotus pose actually fixes the joint problems you were struggling with!
If you are interested in learning more about different postures, try downward dog here
Physical Benefits
Traditional and ancient texts state that lotus pose has the power to actively stop disease and awaken kundalini, a form of primal energy.
Although we can’t prove this, it is true that mastering your Padamasana has so many wonderful benefits: it can help improve posture and digestion, relieve headaches, back pain, and stretch out your hip joints. It has shown a calming effect on the brain which can relieve stress, mild depression, and even lower high blood pressure.
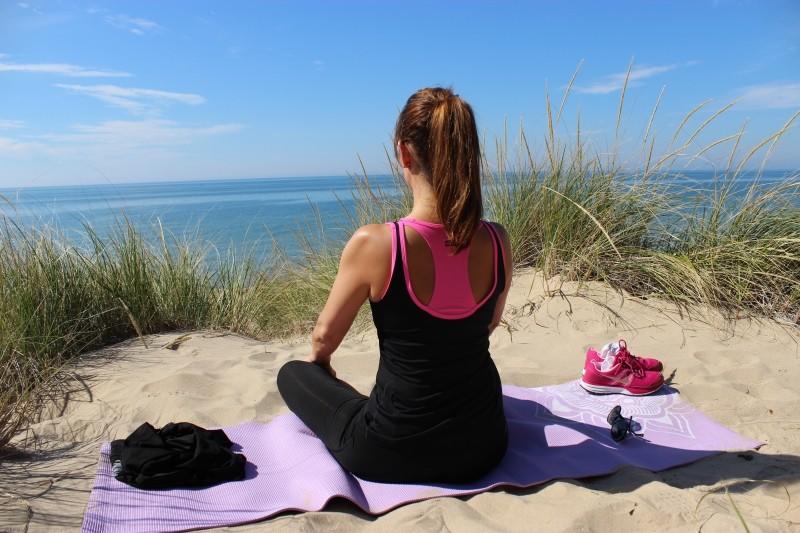
Lotus pose also has therapeutic and meditative benefits to help you relax and increase focus and awareness throughout the day.
It’s incredibly calming on the brain and body, and can even ease menstrual discomfort and sciatica. Lotus pose has even been shown to have easing effects on childbirth if practised consistently into late pregnancy.
Modifications & Variations
If you like, you can use a yoga mat, a thin pillow or a folded blanket for a bit of extra support or comfort on your lower back and buttocks – people with lower back injuries might find this especially helpful.
If you’re using this pose every day, be wary that crossing your legs the same way could lead to discomfort or distortions in the hips. To avoid this, try alternating the legs you cross so that you don’t push one hip joint too much.
You can find easy ways of remembering which legs you use on different days, such as left leg on top on days with an even number – or whatever works for you!
If this exercise is fun for you then why not learn Tadasana.
Summarise with AI:
Did you like this article? Leave a rating!