
Embroidery is a creative textile art. It's when you decorate fabric, create patterns, and add texture to everyday materials with a needle and thread. Learning a few embroidery stitches is the best way to understand how to make outlines, filled shapes, knots, loops, and decorative details.
Key Takeaways
- Embroidery stitches are the building blocks of every design
They can create outlines, fill shapes, add texture, form knots, and build decorative patterns. - Beginners should start with a small group of basic embroidery stitches
Running stitch, backstitch, satin stitch, French knot, and chain stitch give learners enough variety to practise lines, fills, loops, and raised details. - The right materials make stitching easier
Stable fabric, suitable thread, the correct needle, and an embroidery hoop can help prevent puckering, tangles, and uneven stitches. - Mistakes are part of learning
Uneven stitches, thread knots, and fabric distortion are common at the start, but they can usually be fixed by slowing down and checking your tension. - Practice is easier with good resources
Books, stitch guides, online tutorials, communities, and private tutors can all help beginners improve one step at a time.


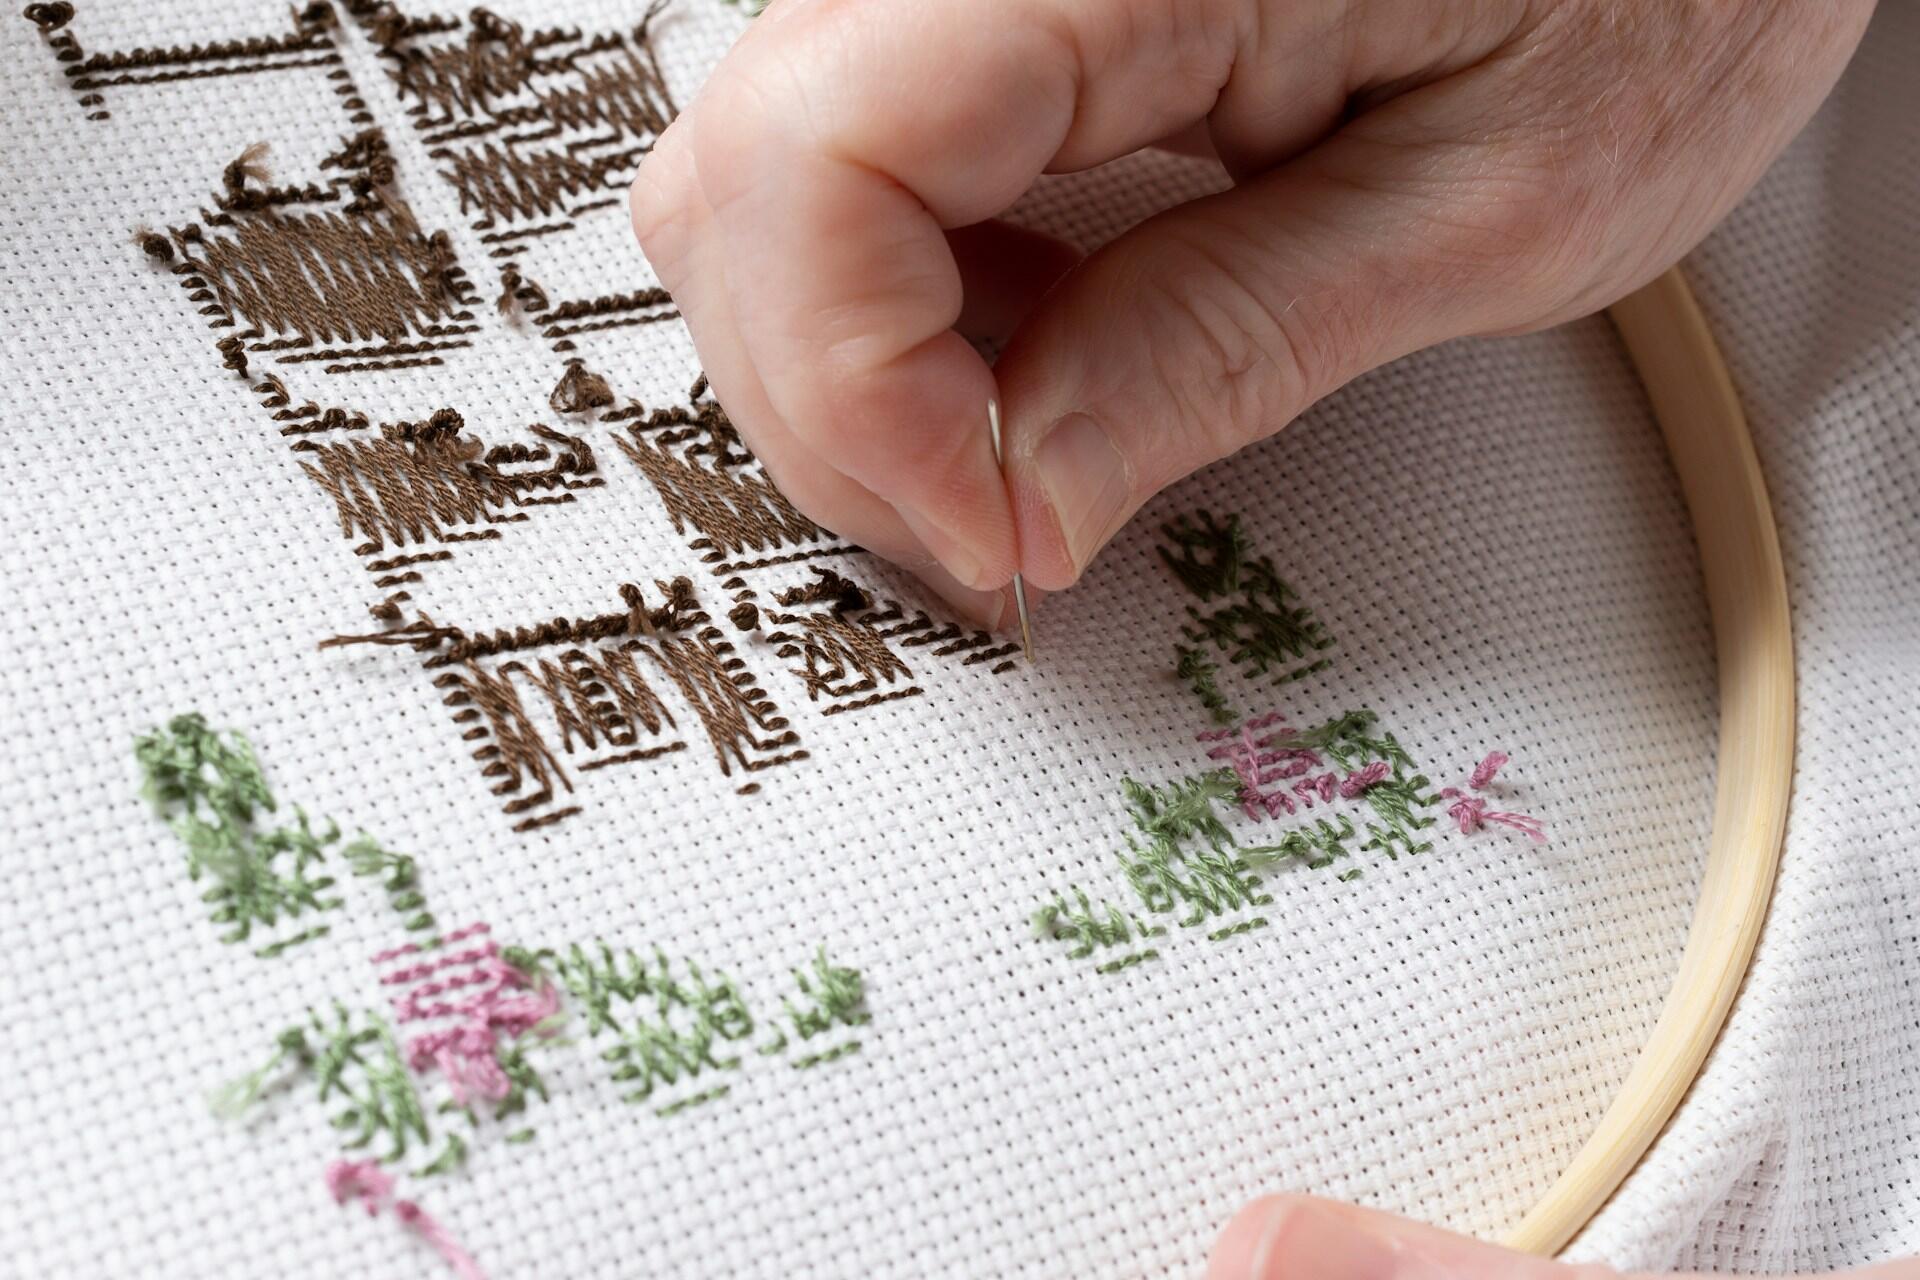
Understanding Embroidery Stitches
Before you start stitching, you need to understand the difference between stitches and techniques. What exactly is an embroidery stitch? In embroidery, a stitch is the act of pulling thread through the fabric with a needle to form a decorative pattern. You can use stitches to outline, fill shapes, or add texture.
stitches in the RSN Stitch Bank
What Do Embroidery Stitches Do?
Stitches such as running stitch, backstitch, stem stitch, and chain stitch can follow a line to shape letters, borders, stems, and simple drawings.
Some embroidery stitches cover a surface with thread, helping you fill leaves, petals, circles, blocks of colour, and other areas of a design.
Raised stitches, knots, loops, and layered thread can bring texture to fabric, making small details stand out from the surface.
A single stitch can look simple on its own, but repeated stitches can create borders, flowers, geometric shapes, and decorative motifs.
Embroidery techniques such as whitework, blackwork, crewel work, cross-stitch, and needlepoint all depend on choosing and repeating stitches in the right way.
History and Evolution of Embroidery Stitches
The history of embroidery goes back thousands of years. Ancient Egyptians, Chinese artisans, and medieval European guilds all considered embroidery useful, practical, and decorative.
- Ancient China: Silk embroidery on clothing and wall hangings dates back to the 5th century BC.
- Europe: During the medieval period, tapestries and liturgical garments were elaborately embroidered.
- The Middle East: Intricate patterns and gold thread were used in Islamic embroidery to symbolise luxury.
Today, embroidery combines tradition and modern creativity, where artists can express themselves using fabric and thread.
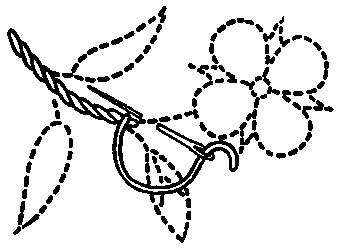
Categories of Embroidery Stitches
Embroidery stitches can be grouped by what they do on the fabric. Some stitches follow a line for outlines and borders, some fill a shape or surface, and others add texture, loops, knots, or raised details. Understanding these categories makes it easier to choose the right stitch before you start a new pattern.
Running stitch is one of the simplest line stitches, made by bringing the needle in and out of the fabric at regular intervals.
Backstitch creates a clean, solid line, making it useful for lettering, outlines, and small details that need a sharper edge.
Stem stitch slightly overlaps each stitch to create a twisted line, which works well for curved shapes, stems, vines, and outlines.
Chain stitch uses a looped structure to create a bolder line, so it is useful when you want an outline to stand out.
Split stitch works through the middle of the previous stitch, helping create smooth curved lines and neat outlines.
Stem Stitch: Often used for floral stems, this stitch slightly overlaps for a twisted effect.
Fill Stitches
Satin stitch fills small shapes with close, straight stitches, creating a smooth block of colour on the fabric surface.
Long-and-short stitch uses varied stitch length to blend colour and create softer shading, especially in petals, leaves, and larger shapes.
Herringbone stitch creates a crisscross pattern, making it useful for leaves, borders, and geometric areas.
Trellis stitch creates a grid-like surface, often secured with small stitches where the lines cross.
Laid work covers an area with long threads placed across the fabric, then secured with small stitches to keep the surface neat.
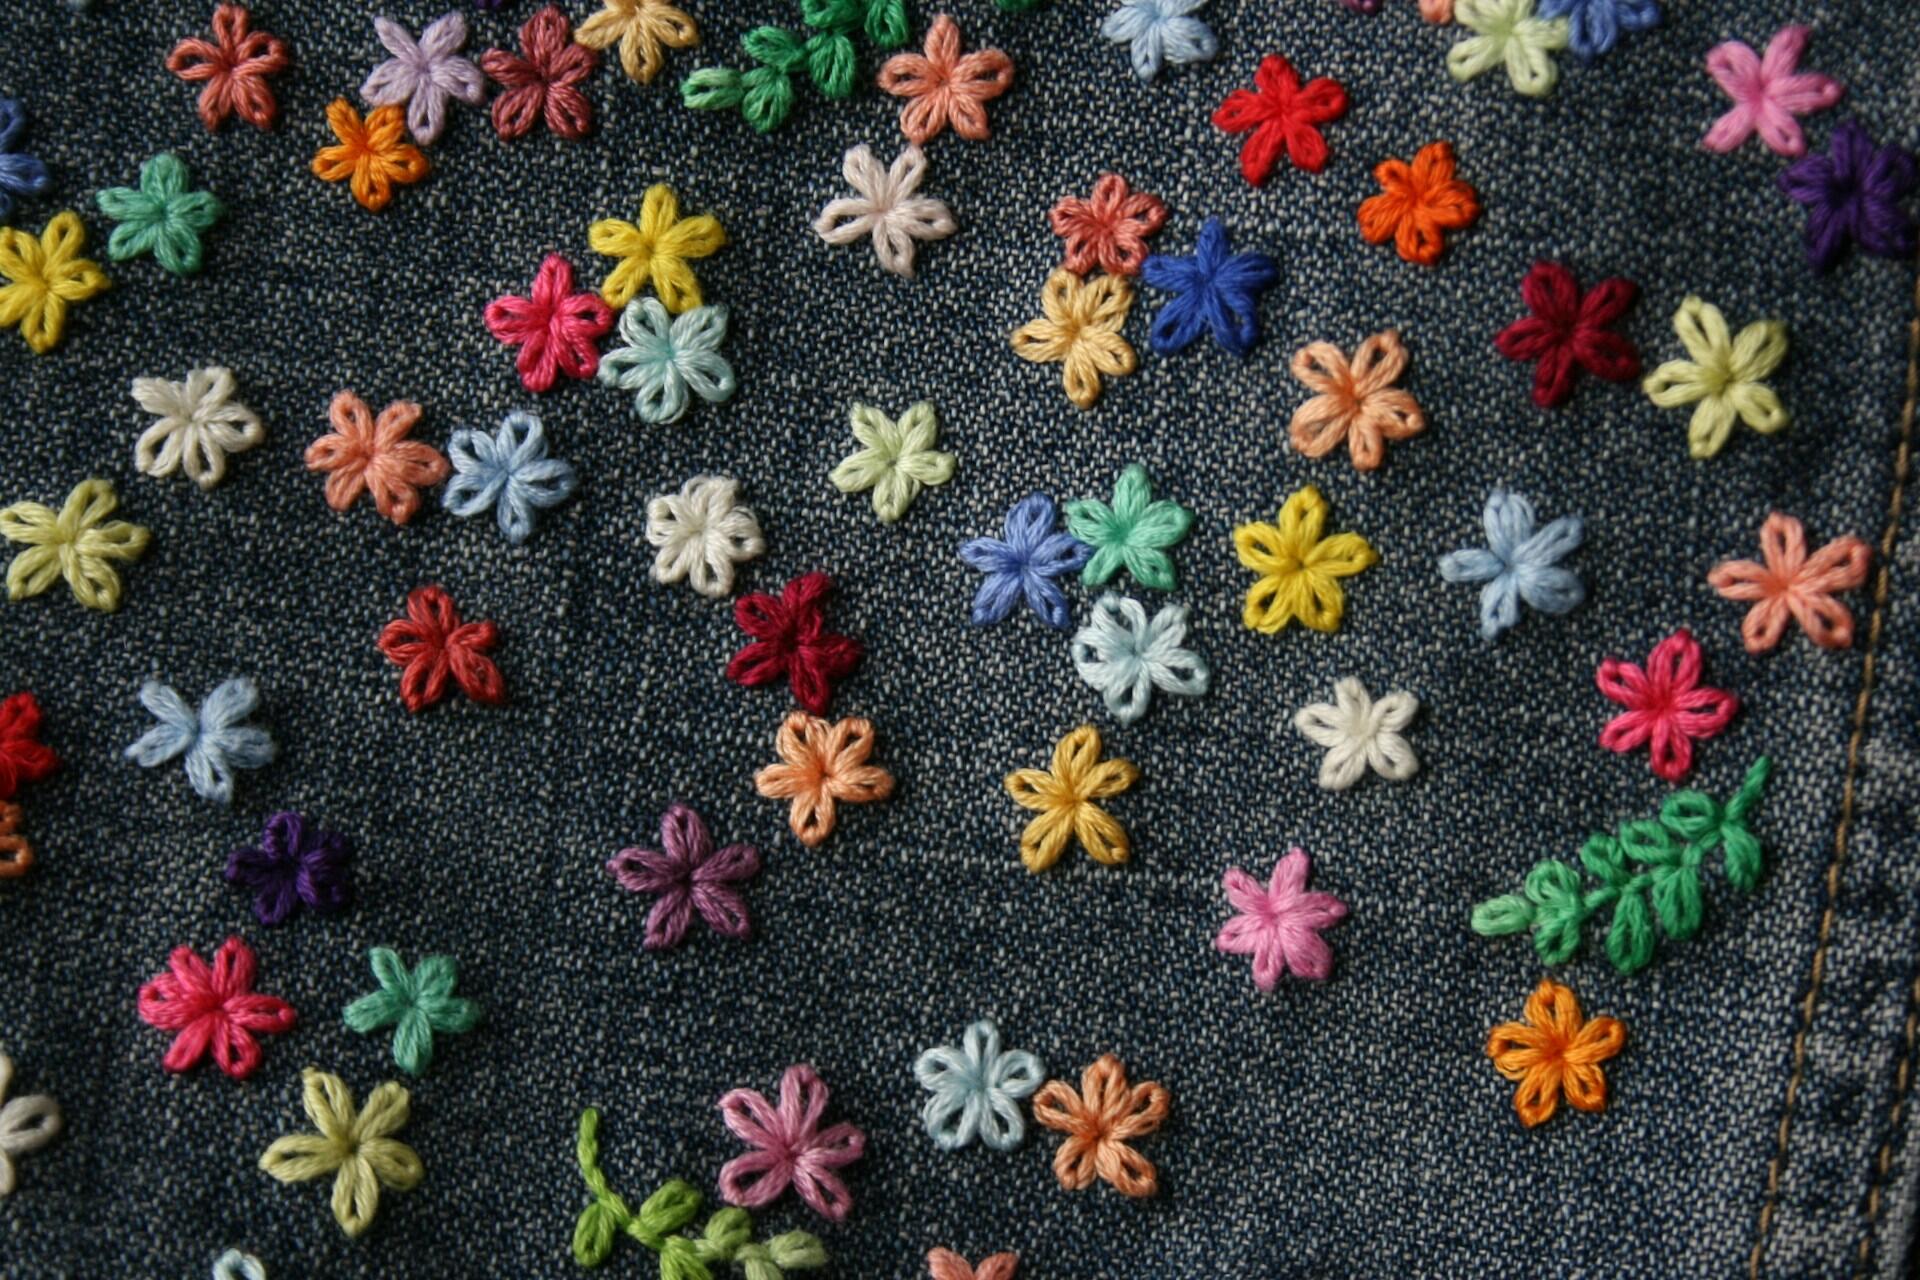
Decorative Stitches
Lazy daisy stitch uses a small loop held in place with a tiny stitch, making it ideal for petals, leaves, and simple floral shapes.
Feather stitch creates an open, branching line, often used for borders, vines, and decorative edges.
Blanket stitch can finish edges, frame shapes, or add a decorative border around a design.
Woven wheel stitch is made by weaving thread around a centre point, creating a raised circular shape like a small flower.
Laced running stitch starts with a running stitch line, then adds a second thread through the stitches for a more decorative finish.
Knot Stitches
French knots create small raised dots, often used for flower centres, seeds, eyes, and textured details.
Bullion knots create a raised, coiled shape, making them useful for roses, petals, and textured lines.
Colonial knots are similar to French knots but can create a slightly rounder, firmer dot.
Seed stitch uses small scattered stitches to create texture across a surface without fully covering it.
Couching can secure thicker thread on the fabric surface, while small knots or holding stitches add texture and control.
Essential Embroidery Stitches for Beginners
Start with simple projects as this is the best way to build confidence with embroidery stitches is to start with simple, repeatable movements. Basic stitches like running stitch, backstitch, satin stitch, French knot, and chain stitch can help you outline shapes, fill small areas, add texture, and practise control. Once these feel familiar, it becomes much easier to follow beginner patterns or start creating your own designs.
Start with a hand embroidery book for detailed step-by-step instructions on stitches and patterns.
Running Stitch
Running stitch works well for borders, guide lines, lettering practice, and simple decorative patterns.
Try to make each stitch and space roughly the same length so the line looks neat across the fabric.
Practise on a straight drawn line first, then move on to curves, circles, leaves, and simple shapes.
A shorter length of thread is easier to control and less likely to twist while you work.
Rows of running stitch can create borders, dashed lines, mending details, or simple geometric patterns.
For a bolder look, try a double-running stitch, working back through the same path to make the line solid.
Backstitch
Backstitch is ideal when you want a solid line for text, stems, shapes, and small details.
Each new stitch moves forward on the fabric, then returns to meet the end of the previous stitch.
Use smaller stitches around curves so the outline looks smooth instead of angular.
The line should sit flat on the fabric without puckering the surface.
Backstitch is one of the easiest stitches to use when embroidering names, short phrases, or initials.
Satin Stitch
Satin stitch works best for petals, leaves, circles, hearts, and other areas that need a smooth block of colour.
Place each stitch next to the previous one so the fabric underneath does not show through.
Angle the stitches to match the shape you are filling, especially on curved edges.
A simple outline can help keep the edge of your satin stitch neat.
Large satin stitch sections can snag or become uneven, so beginners should start with small shapes.
French Knot
French knots are useful for flower centres, seeds, eyes, stars, and tiny textured details.
Wrap the thread around the needle while keeping gentle tension so the knot forms neatly.
Keeping the thread controlled helps stop the knot from loosening or tangling.
Several French knots grouped together can create a textured surface or clustered detail.
French knots can feel awkward at first, so practise a few rows before adding them to a finished design.
Chain Stitch
Chain stitch creates a thicker outline than running stitch or backstitch, making it useful for borders and decorative lines.
Each stitch forms a loop, and the next stitch holds that loop in place as the chain continues.
Try to keep each loop similar in size so the line looks smooth and balanced.
Chain stitch bends well, so it can work for stems, vines, lettering, waves, and circular shapes.
Placed side by side, rows of chain stitch can fill a shape with a textured surface.
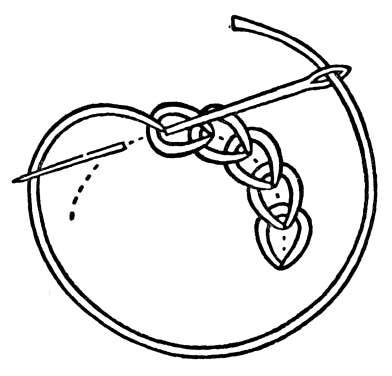
Chain Stitch: This loop-based stitch creates a chain effect perfect for bold outlines.
Advanced Embroidery Stitches
Once you feel comfortable with basic embroidery stitches that are great for beginners, you can start using more advanced stitches to add texture, movement, and raised detail. These stitches often take more control because they depend on careful thread tension, stitch length, and placement. Feather stitch, bullion knot, and couching are useful next steps because they help you create borders, flowers, vines, outlines, and decorative surface effects.
Feather Stitch
Feather stitch creates an open, branching line that works well around edges, borders, seams, and decorative bands.
Alternate the stitch from left to right so the finished line looks even rather than leaning too much to one side.
Draw a faint centre line on the fabric before you start, especially if you want the feather stitch to stay straight.
Feather stitch works well for vines, stems, leaves, seaweed, and light decorative details.
The stitch should sit open on the fabric, so keep the thread relaxed enough to preserve the branching shape.
Bullion Knot
Bullion knots create a coiled, raised stitch that works well for small roses, petals, curls, and textured lines.
A needle with a smooth shaft makes it easier to pull through the wrapped thread without snagging.
Keep the wraps close together, but not so tight that the needle cannot pass through them.
The number of wraps should suit the length of the stitch, or the knot may buckle, twist, or sit unevenly.
Bullion knots can be tricky at first, so try them on spare fabric before using them in the centre of a design.
Couching
Couching lets you place thicker thread, cord, ribbon, or yarn on the fabric surface without pulling it through the fabric.
Use tiny holding stitches across the main thread to keep it in place while following the shape of the design.
Couching is useful for curved outlines, lettering, spirals, stems, and decorative borders.
A different colour for the holding stitches can become part of the design rather than something to hide.
Lay the main thread flat and guide it gently so it does not twist, bunch, or lift away from the fabric.
Tips for Mastering Embroidery Stitches
Knowing which embroidery stitches to use is only part of the process. Every project also depends on the right fabric, thread, needle, hoop, and finishing method. Once your embroidery equipment and materials are set up properly, it becomes much easier to keep your stitches even, secure, and neat.
| Tip | Why it helps |
|---|---|
| Start with cotton or linen | These stable fabrics are easier for beginners to control than slippery or stretchy materials. |
| Use an embroidery hoop | A hoop keeps the fabric taut and helps prevent puckering while you work. |
| Choose cotton floss first | Cotton floss is versatile, easy to separate, and suitable for most basic embroidery stitches. |
| Match the needle to the thread | The thread should pass smoothly through the needle eye without fraying or dragging. |
| Keep thread lengths manageable | Shorter thread is less likely to twist, tangle, or knot while stitching. |
| Practise one stitch at a time | Learning stitches separately helps you build confidence before combining them in a pattern. |
| Work slowly around curves | Smaller, slower stitches help keep circles, petals, and curved outlines smooth. |
| Avoid pulling too tightly | Gentle tension keeps the thread flat without distorting the fabric. |
| Check the back of your work | Looking at the reverse side helps catch knots, loose thread, or tension problems early. |
| Start with small projects | Simple designs make it easier to practise without overcommitting. |
Choosing the Right Fabric and Thread
Cotton and linen are good beginner fabrics because they are stable, easy to handle, and suitable for many basic embroidery stitches.
Aida cloth is useful for cross-stitch and other counted designs because the even grid makes stitch placement easier.
Cotton floss is versatile, widely available, and easy to separate into strands, making it a good thread for beginners.
Silk thread can be smooth and delicate, while metallic thread can add shine, but both are harder to control than basic cotton floss.
Use finer thread for small details, thicker thread for bold outlines, and wool thread when you want a more textured finish.
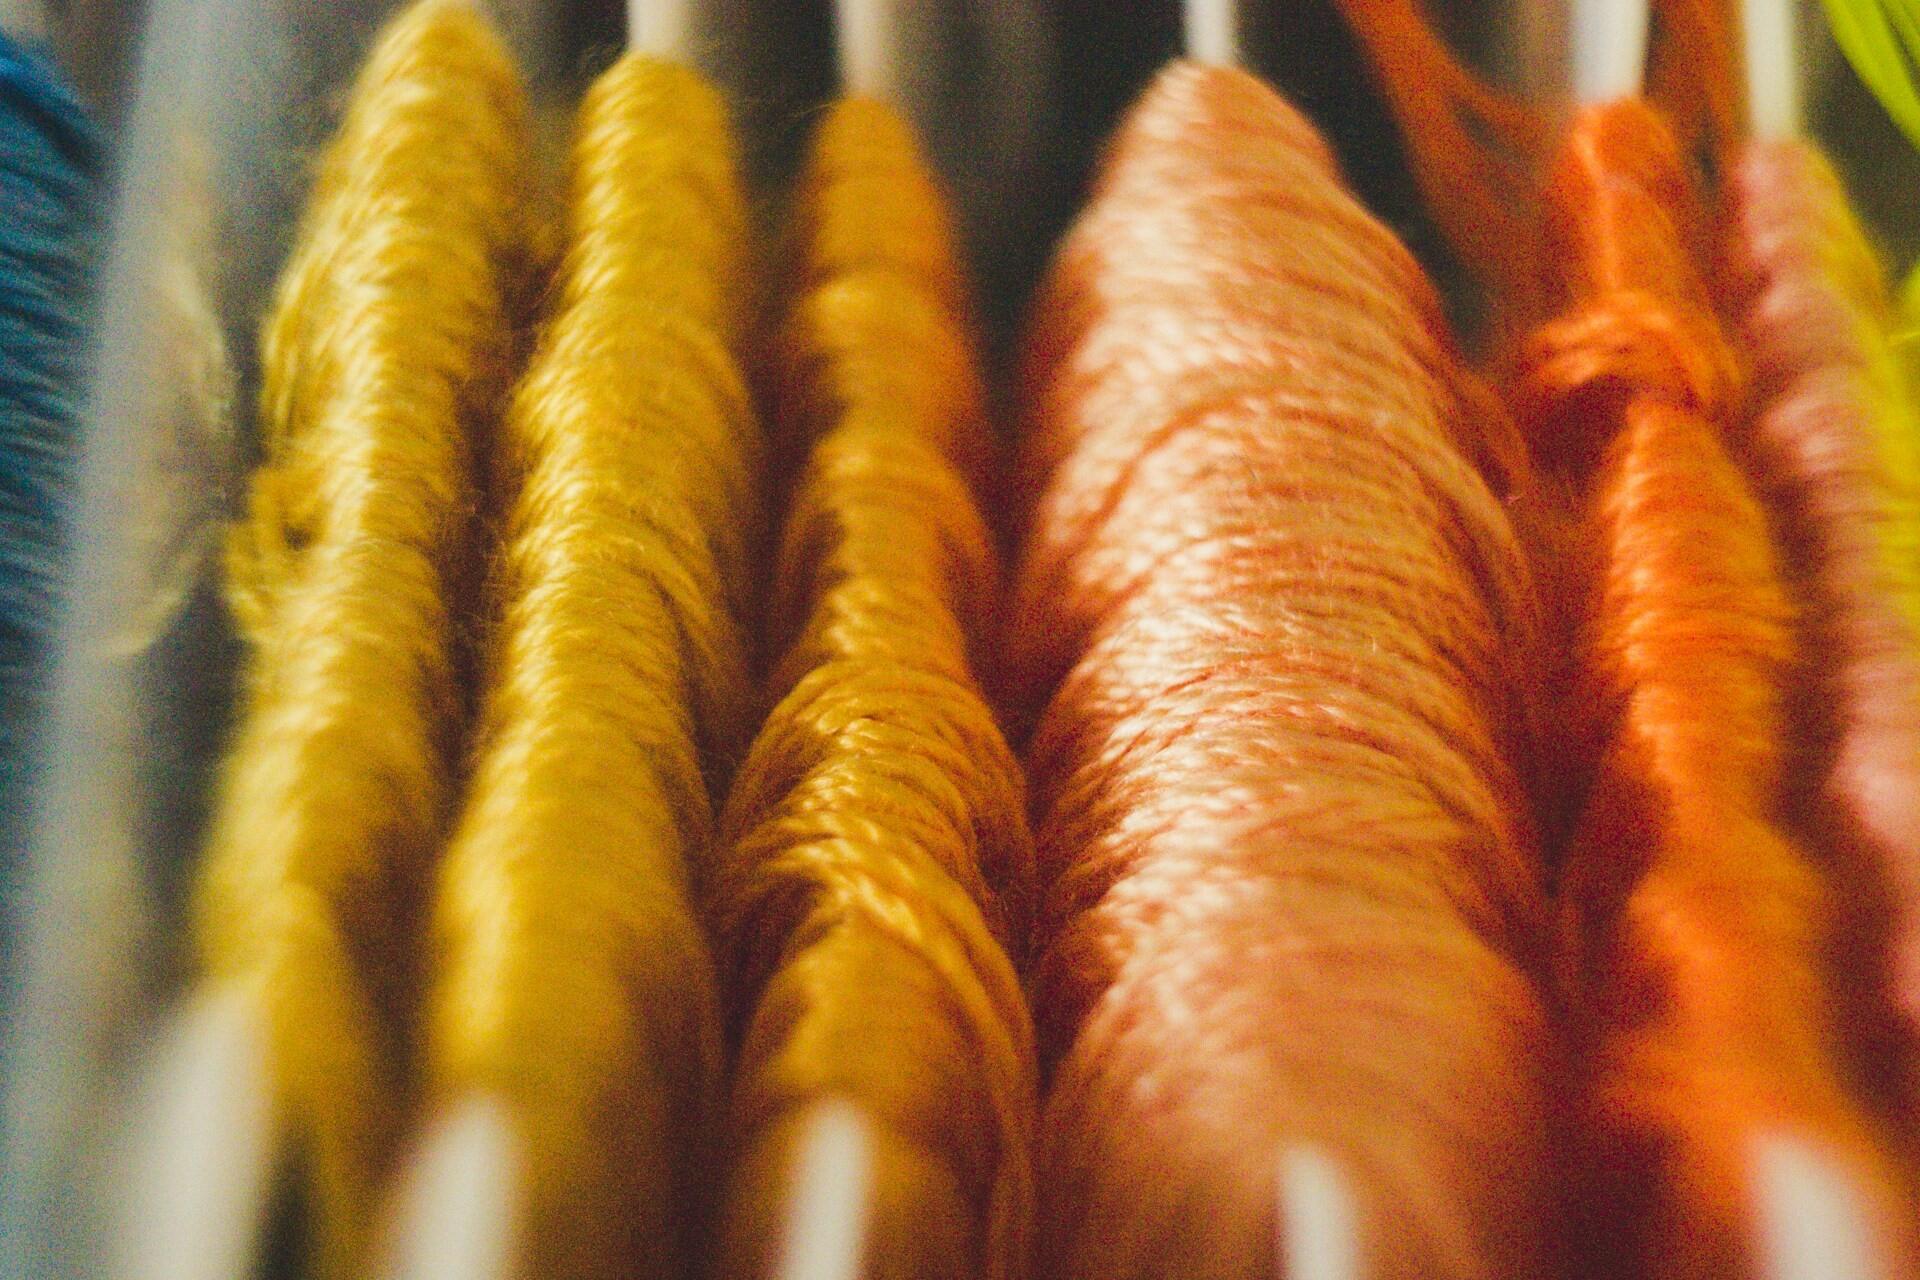
metres of thread in a standard DMC Mouliné Spécial skein
Proper Needle Selection
Embroidery needles usually have a larger eye, which makes it easier to thread floss without fraying it.
The needle eye should be big enough for the thread to pass through easily, but not so large that it leaves visible holes in the fabric.
A finer fabric needs a smaller needle, while heavier fabric or thicker thread may need a larger needle.
A sharp, smooth needle passes through fabric more cleanly and helps prevent pulled threads or rough holes.
Having several needle sizes makes it easier to test what works best before committing to a full project.
Maintaining Consistent Tension
A hoop keeps the fabric taut while you work, which helps prevent puckering and makes each stitch easier to place.
The thread should sit flat against the fabric, but it should not pull the surface out of shape.
Slower stitching makes it easier to control stitch length, spacing, and direction.
Start with an anchor stitch or another secure method, then finish by weaving the thread through the back of existing stitches.
Pause regularly to look at the front and back of the work so you can catch loose stitches, tight areas, or uneven spacing early.
Secure your thread with an anchor stitch (like a loop knot).
Work slowly, keeping your stitches even.
Secure the thread by weaving it through the back of existing stitches.
Common Mistakes and How to Avoid Them
Beginner embroidery mistakes are normal, especially while you are learning how different stitches, fabrics, needles, and thread lengths behave. Starting with a smaller project gives you space to practise without feeling like every uneven stitch has ruined hours of work. Most problems come from tension, thread control, or fabric movement, so they are easy to improve once you know what to look for.
Uneven Stitches
Practise running stitch, backstitch, or stem stitch along a straight guide line before moving on to curves and detailed shapes.
A faint pencil line, washable fabric pen, or transfer pattern can help keep stitch length and direction consistent.
Use smaller stitches when working around circles, petals, leaves, or tight corners so the shape stays smooth.
Pause every few stitches to compare the length, gap, and angle of each stitch before the line becomes too uneven.
Avoid overcomplicated patterns at the beginning and choose small designs that let you practise one or two basic embroidery stitches at a time.
Thread Tangles and Knots
Long thread is more likely to twist, knot, and fray, so work with a manageable length instead.
If the thread starts twisting, let the needle hang for a moment so the thread can unwind naturally.
Do not yank the thread through the fabric, as this can create knots on the back of the work.
When using stranded cotton, separate the strands slowly before recombining them, so they sit more smoothly.
If you feel resistance, turn the fabric over and loosen the thread before the knot becomes harder to remove.
Fabric Distortion
Skipping the hoop can cause fabric puckering, so keep the fabric taut while you stitch.
Tight thread can distort the fabric surface, especially around satin stitch, French knots, and filled areas.
A needle that is too large can leave visible holes, while a needle that is too small can make the thread drag through the fabric.
Stable fabrics such as cotton, linen, or Aida are easier for beginners than slippery or stretchy materials.
If the fabric loosens in the hoop, pause and tighten it again before continuing with the next section.
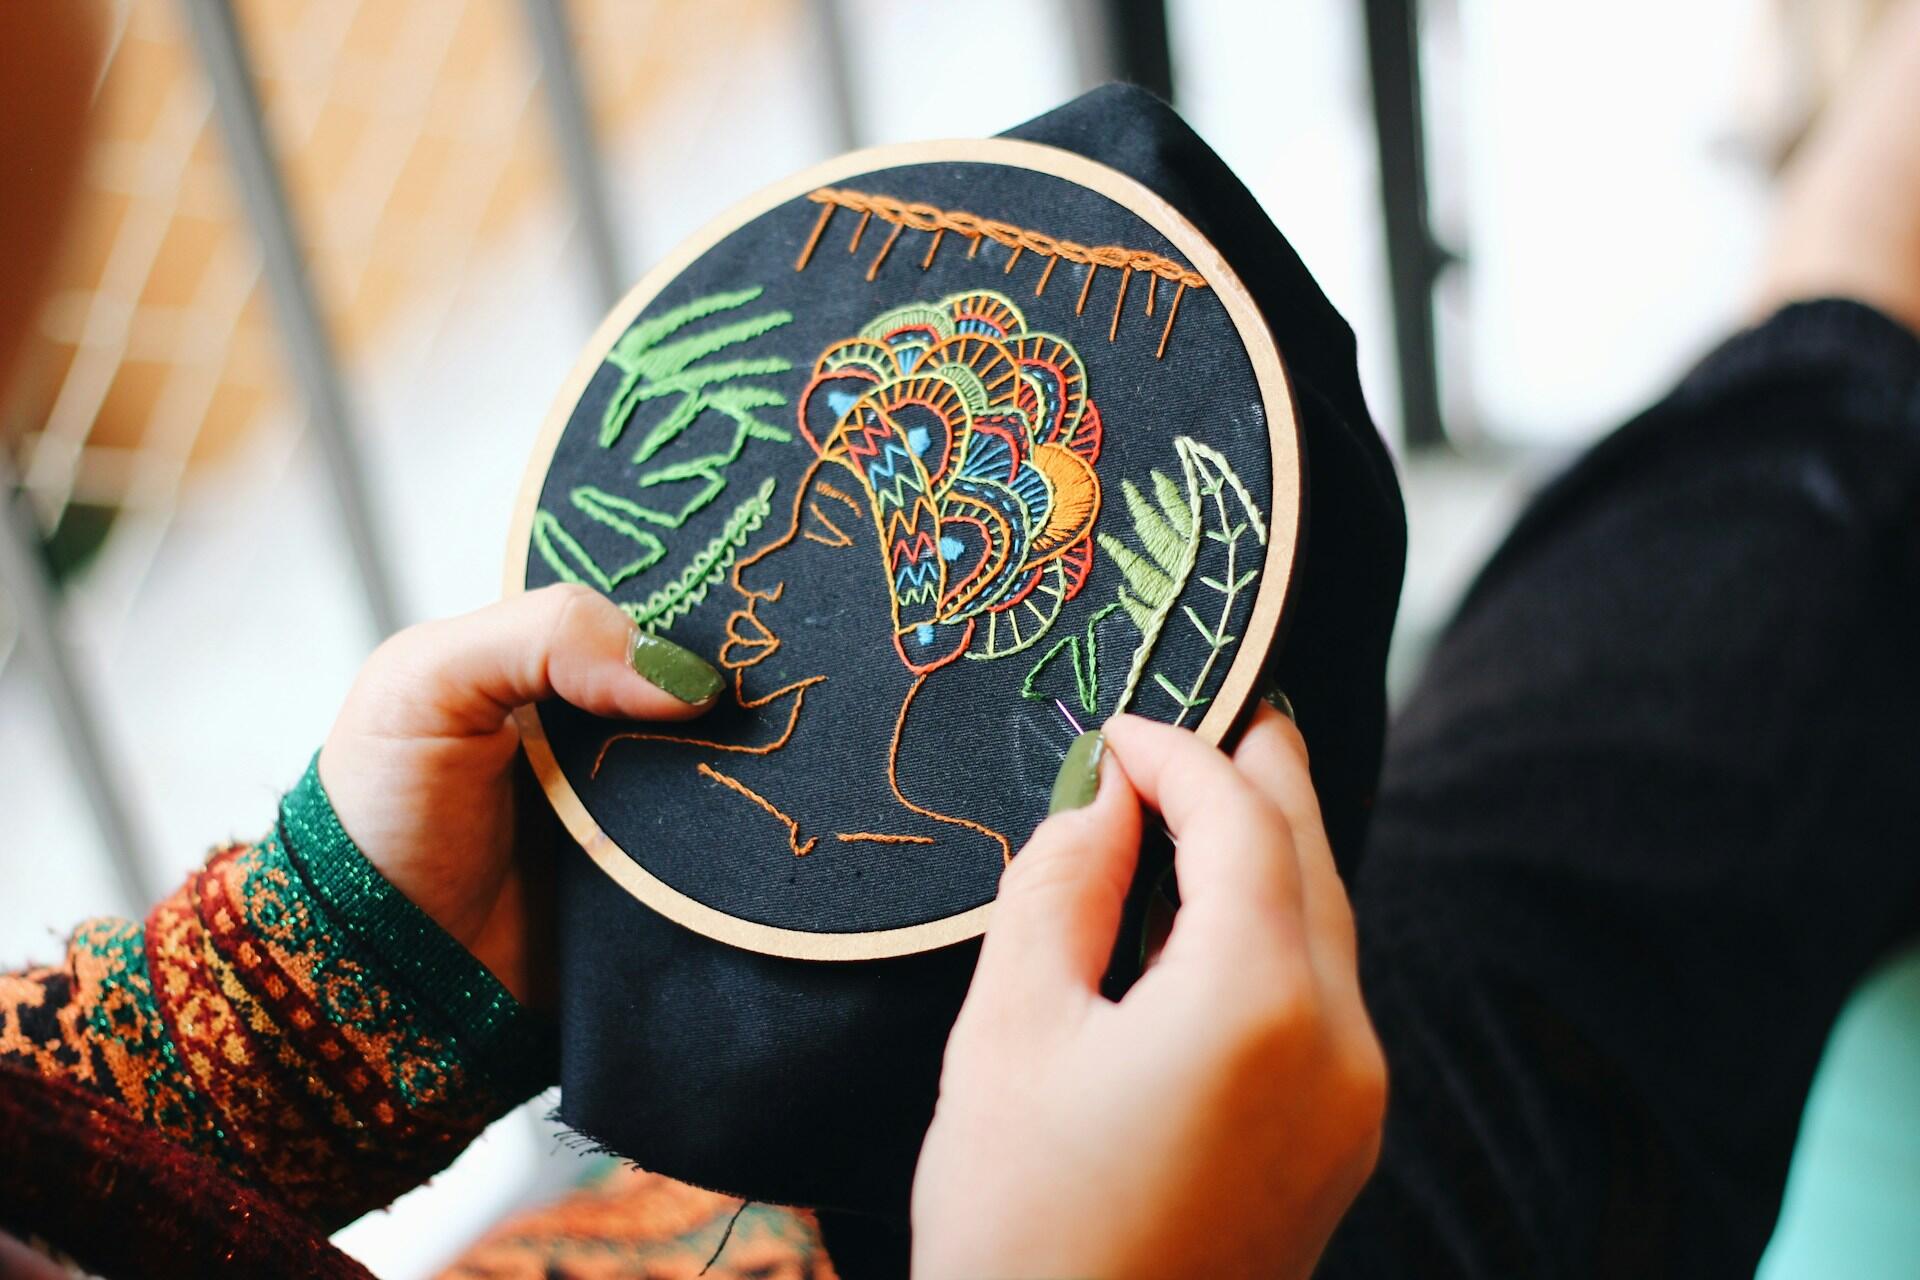
Resources for Learning Embroidery Stitches
Online tutorials, books, private lessons, and regular practice are all useful ways to learn embroidery stitches. Beginners often start with simple guides or videos, then build confidence by trying small projects such as wall hangings, embroidered clothing, or handmade gifts. If you want faster feedback, a private tutor can help you correct mistakes, choose suitable stitches, and work through projects at your own pace.
When working with counted designs, use an embroidery hoop to keep the fabric taut and straight for cleaner stitches.
Online Tutorials and Courses
Look for tutorials that clearly show the needle, thread, fabric, and hand position so you can follow each step.
Practise running stitch, backstitch, satin stitch, French knot, and chain stitch separately before combining them in one design.
Embroidery is easier to learn when you can slow the process down and repeat tricky steps.
A simple flower, border, initial, or patch gives you a clear goal without making the project too complicated.
A course can help you move from basic embroidery stitches to more advanced techniques in a logical order.
Books and Guides
Good as a broad reference because it brings together the RSN Essential Stitch Guides and includes a chapter on mounting work.
Good for beginners who want a compact stitch dictionary with hints, tips, and clear guidance on different types of embroidery stitches.
Good as a practical stitch reference because it includes over 200 essential embroidery stitches with photos and charts.
Good for a more complete reference library because it includes over 400 stitches arranged by use, from basic outline stitches to more complex filling stitches.
Good for visual learners because it covers materials, mounting, fabrics, frames, and more than 200 stitches with step-by-step instructions.
stitches in Mary Thomas’s Dictionary of Embroidery Stitches
Embroidery Communities and Forums
Good for learners in the United States who want local groups, meetings, and stitch-focused learning with other embroiderers.
Good for UK readers who want to find local stitch groups by county or region.
Good for online community learning because it is an online chapter of the Embroiderers’ Guild of America.
Good for informal advice, project feedback, stitch ideas, and inspiration from hand and machine embroiderers.
Good for sharing photos, asking embroidery questions, and getting feedback from other needlework enthusiasts.
References
- Britannica, The Editors of Encyclopaedia. “Embroidery.” Encyclopaedia Britannica, https://www.britannica.com/art/embroidery. Accessed 27 May 2026.
- DMC. “Step by Step Embroidery Stitch Guide.” DMC, https://www.dmc.com/IE/en-GB/sbs-embroidery-stitch-diagrams. Accessed 27 May 2026.
- DMC. “Video Tutorials.” DMC, https://www.dmc.com/ES/en-GB/video-tutorials. Accessed 27 May 2026.
- Embroiderers’ Guild of America. “Helpful Resources.” Embroiderers’ Guild of America, https://egausa.org/resources/. Accessed 27 May 2026.
- Embroiderers’ Guild of America. “The Most Common Embroidery Mistakes (And How To Fix Them).” Embroiderers’ Guild of America, 23 July 2021, https://egausa.org/how-to-fix-common-embroidery-mistakes/. Accessed 27 May 2026.
- Royal School of Needlework. “Embroidery Classes and Courses.” Royal School of Needlework, https://royal-needlework.org.uk/courses/. Accessed 27 May 2026.
- Royal School of Needlework. “French Knot.” RSN Stitch Bank, https://rsnstitchbank.org/stitch/french-knot. Accessed 27 May 2026.
- Royal School of Needlework. “RSN Stitch Bank.” RSN Stitch Bank, https://rsnstitchbank.org/. Accessed 27 May 2026.
- Royal School of Needlework. “Running Stitch.” RSN Stitch Bank, https://rsnstitchbank.org/stitch/running-stitch. Accessed 27 May 2026.
- Victoria and Albert Museum. “Embroidery – a History of Needlework Samplers.” Victoria and Albert Museum, 17 Apr. 2024, https://www.vam.ac.uk/articles/embroidery-a-history-of-needlework-samplers. Accessed 27 May 2026.
- Victoria and Albert Museum. “Embroidery Styles: An Illustrated Guide.” Victoria and Albert Museum, 17 Apr. 2024, https://www.vam.ac.uk/articles/embroidery-styles-an-illustrated-guide. Accessed 27 May 2026
Summarise with AI:
Did you like this article? Leave a rating!