
"Really I don't dislike to cook, but what you cook is eaten so quickly. When you sew, you have something that will last to show for your efforts." Elizabeth Travis Johnson
Just like picking up your granny's cooking tips, what could be more beneficial and motivational for a beginner than learning to sew from an experienced seamstress?
When you look at someone else sewing it's easy to think, anyone could do that!
But as soon as you try to compete with the professionals and sew a skirt, dress, bag, curtains or hem of a pair of trousers, you'll quickly find out there's a lot more to it.
Want to make a little dress or pretty bag, helm a pair of trousers or create a hand-stitched cushion cover?
Sewing, like all hobbies, is an art that requires precision, meticulousness, organisation and a lot of flexibility.
Getting used to your sewing machine, using different types of fabric, familiarising yourself with all the accessories, trying not to mess up, amongst all of this, you can easily get discouraged.
Sewing and embroidery particularly requires you to be well prepared and well practised.
That's why the Superprof editorial team has created the ultimate sewing tutorial for beginners: here are the best sewing tips to make your life much easier.


Quick Tips For Sewing Classes
After you've flicked through plenty of sewing magazines or visited your favorite sewing sites (see below) and pinched some great sewing tips, you'll soon see that there are lots of ways to learn how to sew:
- Online sewing courses,
- At home sewing lessons,
- Sewing books,
- Learn from online haberdashery websites: the village haberdashery, fabric land, ribbon moon, etc.
- Read a sewing blog: What Katie Sews, Sewmanju, The Thrifty Stitcher, etc.
- Subscribe to a sewing magazine such as Simply Sewing Magazine or Sew Now Magazine.
And yes, you have to learn before you start. But above all, you need to have a clear idea of what you are going to sew.
You can start taking sewing classes Glasgow here.

Because it is what you sew that will determine the amount of items you need to pick up from the haberdashery as well as the type and quality of the fabric.
So that you don't get overwhelmed by everything that you need to do, you should divide your work, break up the tasks that need to be done to fit your schedule: take the measurements one evening, make the pattern another day, cut the fabric the next day, sew the day after that.
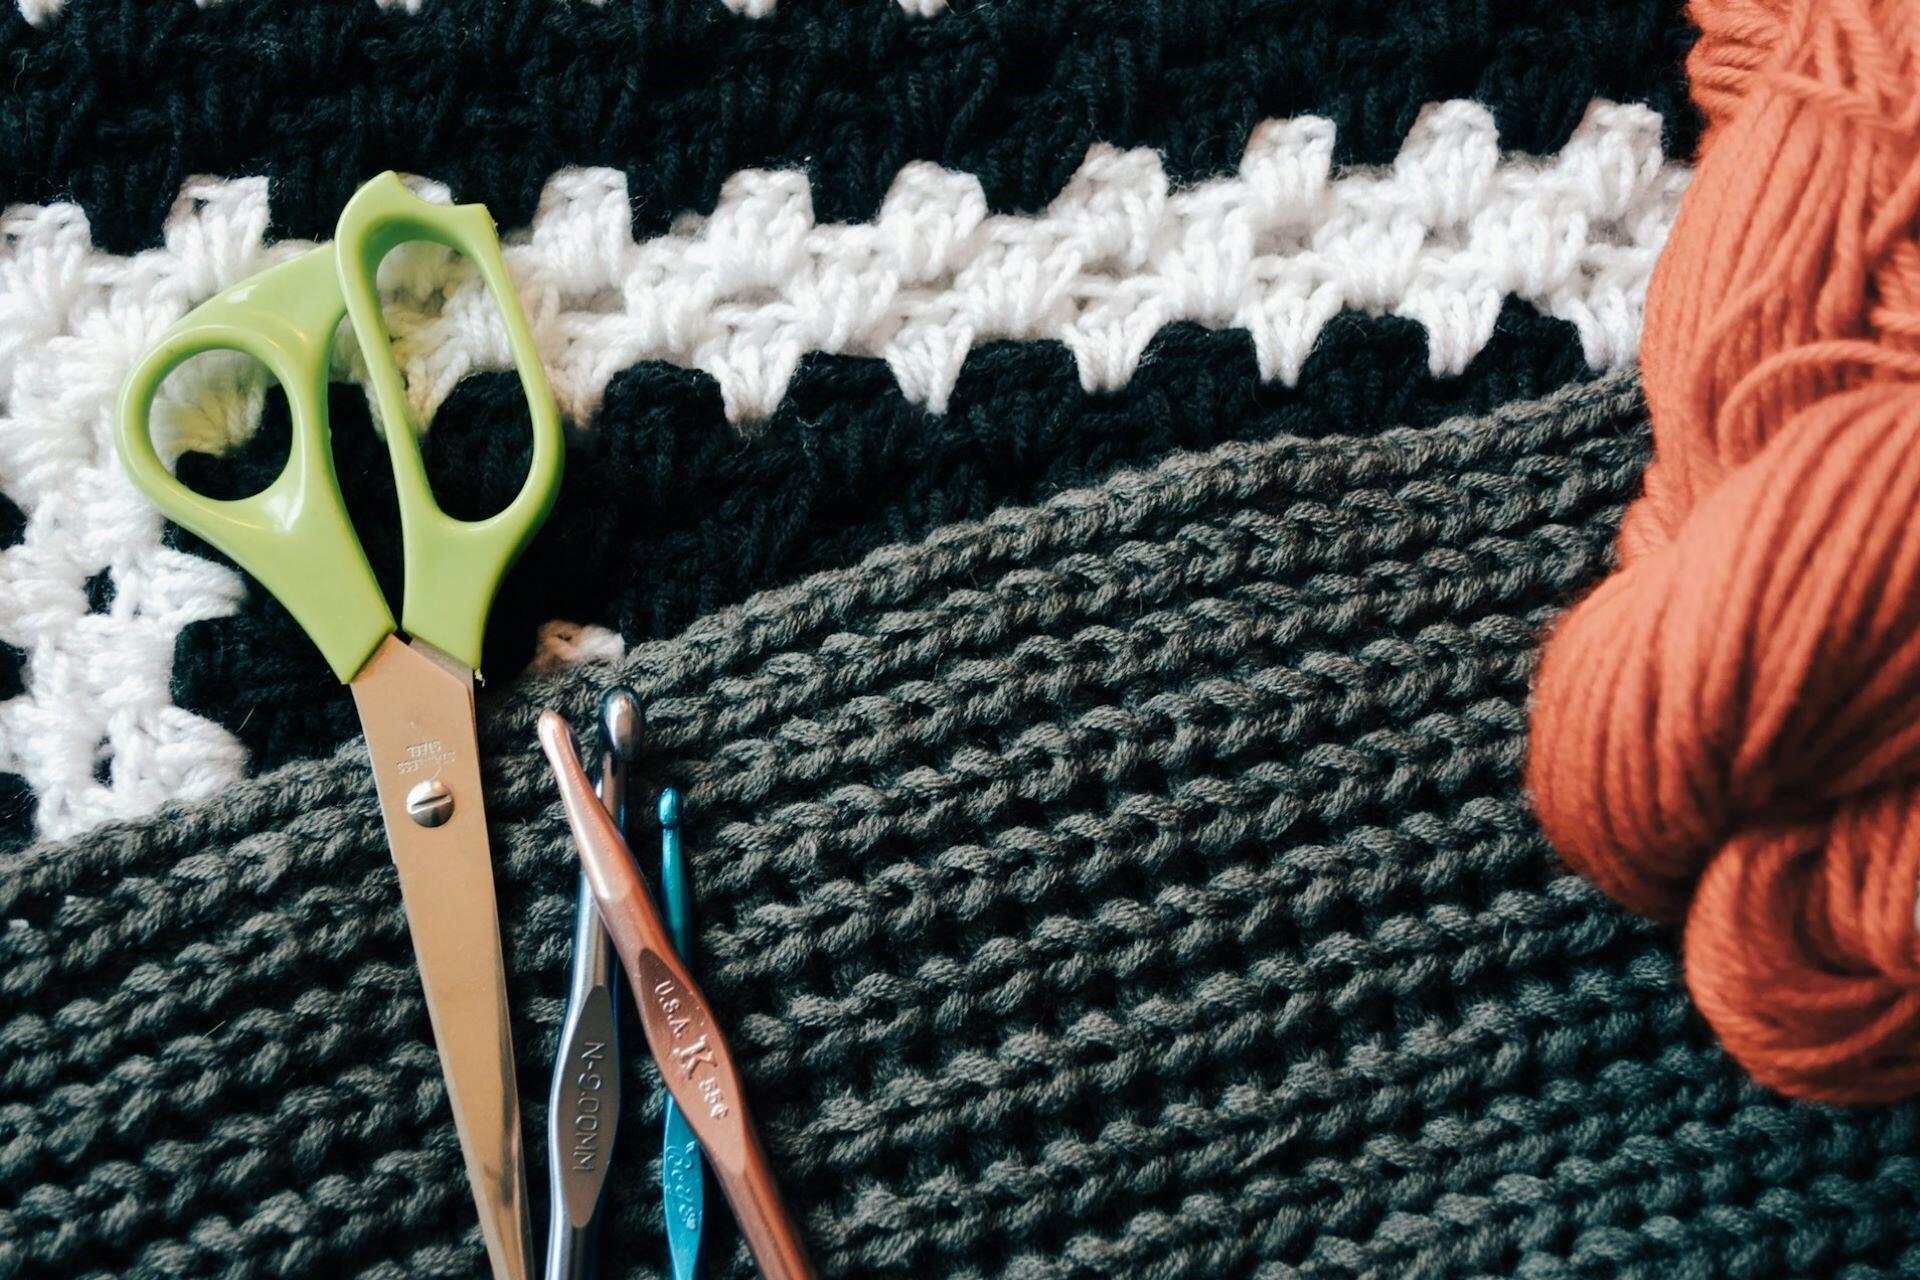
Next, it is important to be well prepared before you sew: even if it is not the sewing machine that makes the seamstress, you always need good tools to sew well.
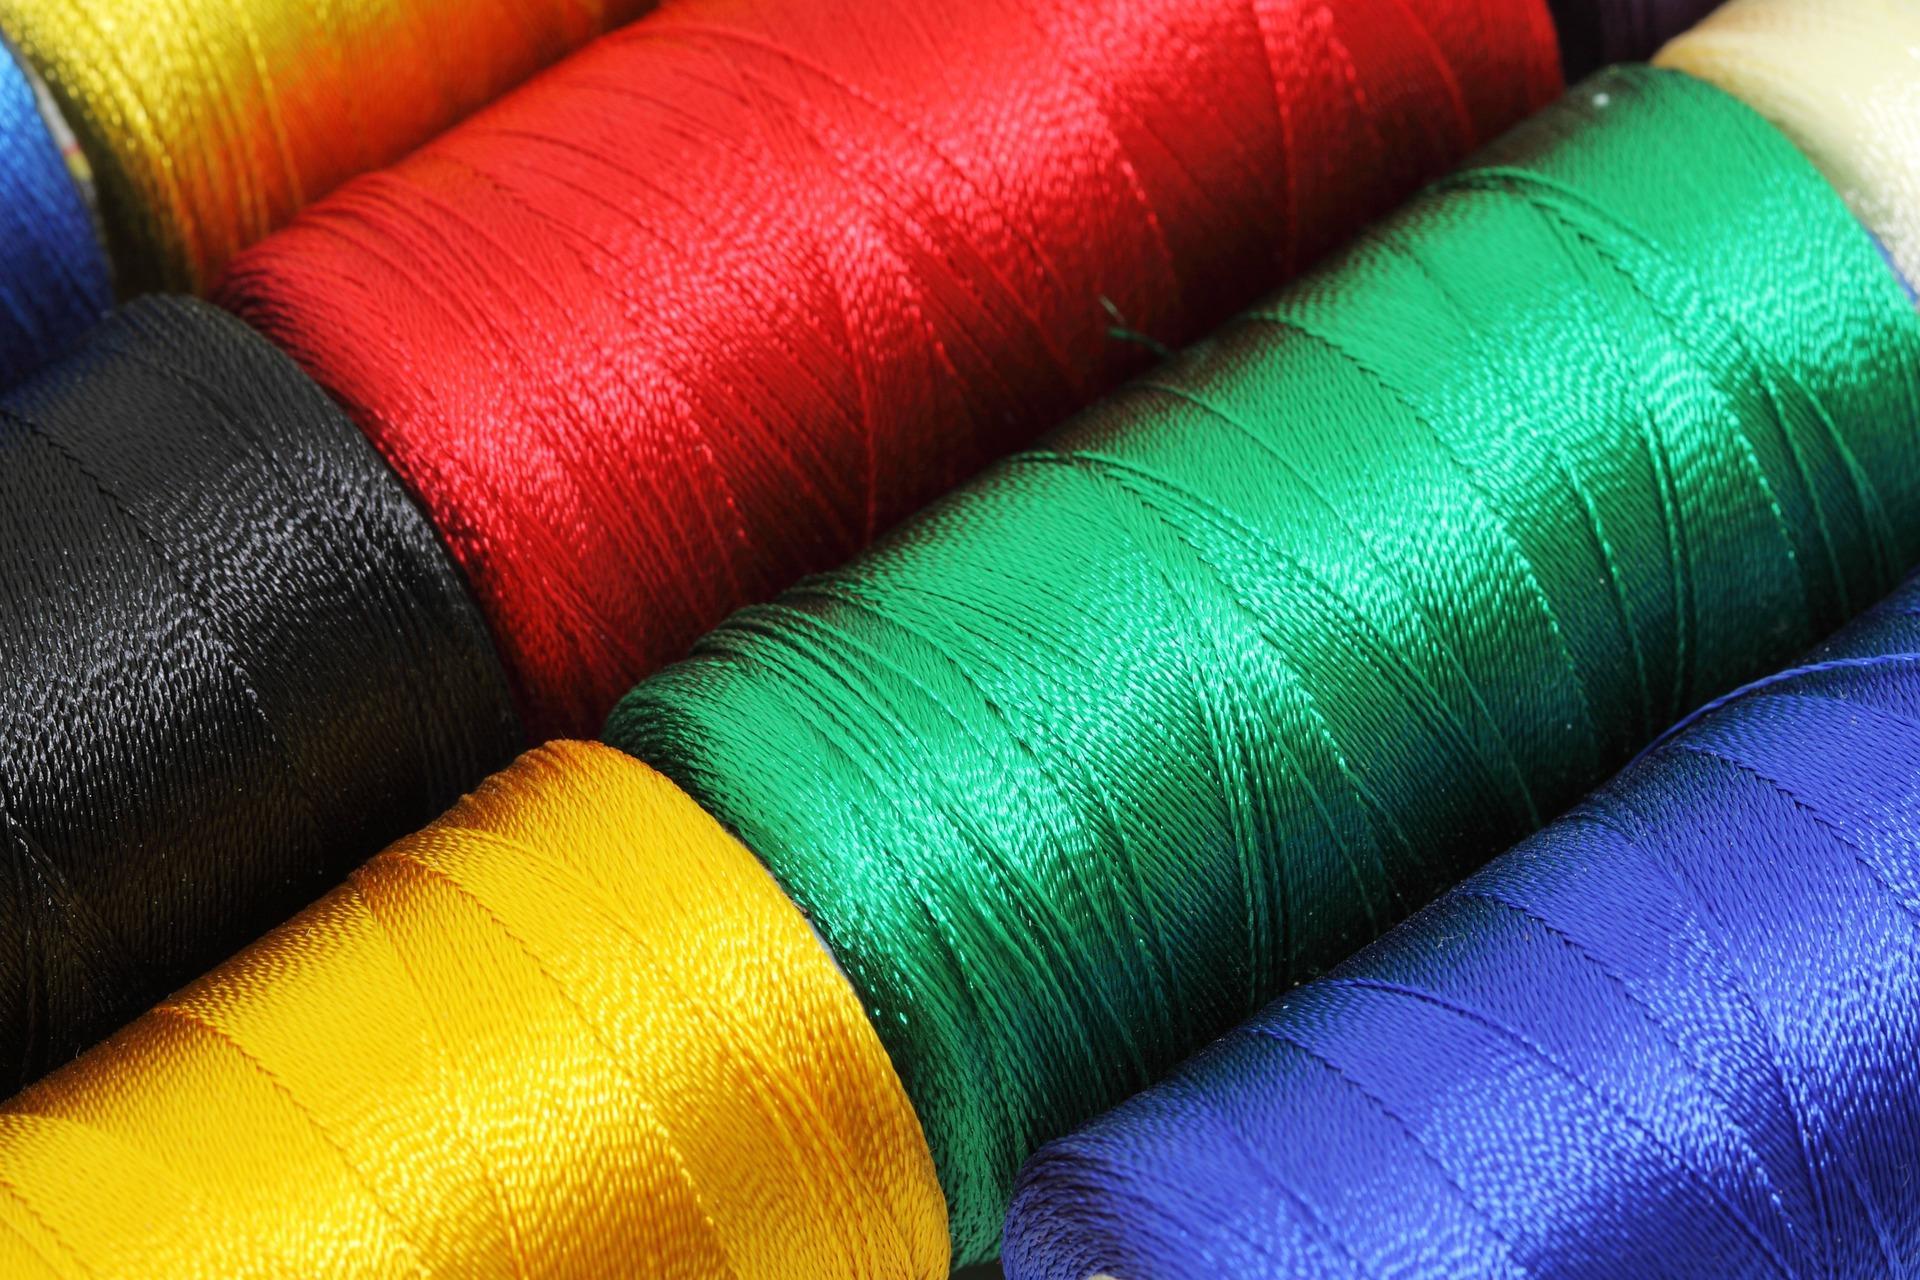
If you're want to make clothes, like a poplin jumper or frilly dress, choosing the right fabric, embroidery and thread is fundamental.
So, you've already matched your fabrics to your thread?
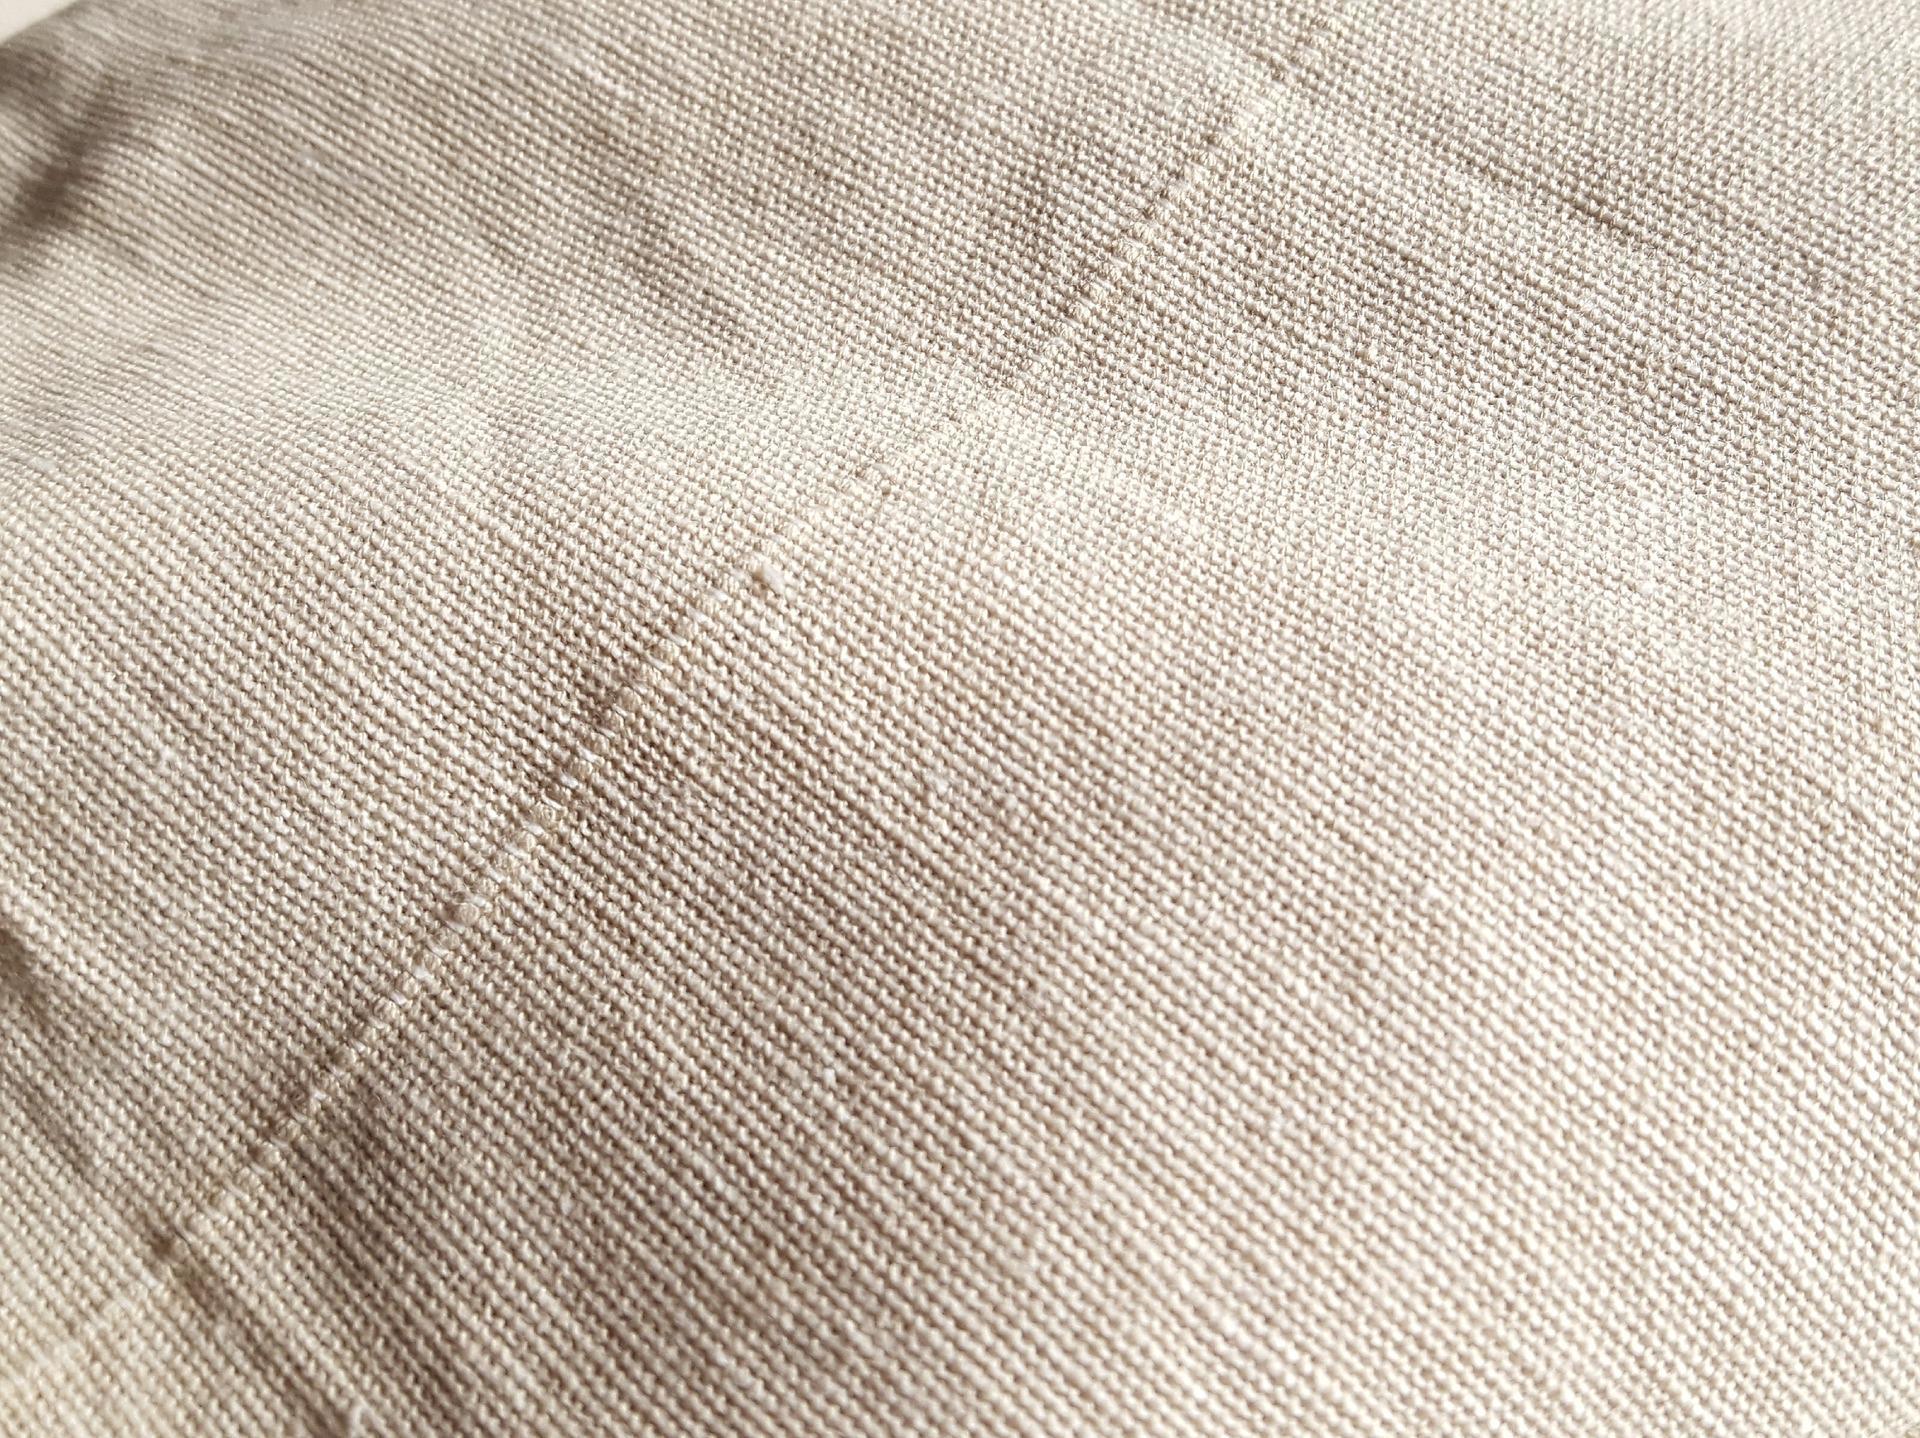
Start by washing and treating the fabric so that it takes its actual size and does not shrink after the first wash once you've sewn it.
With a good sewing machine, you can have fun with little things when you start. When learning, you shouldn't go straight in and try to make a flared skirt, or a strapless silk number.
Doing simple things at the beginning avoids sewing back and forth: it is the stepping stone to acquiring a more advanced level of sewing later on, and to improving gradually.
There's plenty of sewing courses London, in Glasgow, in Manchester and all over the UK.
How To Make a Sewing Pattern
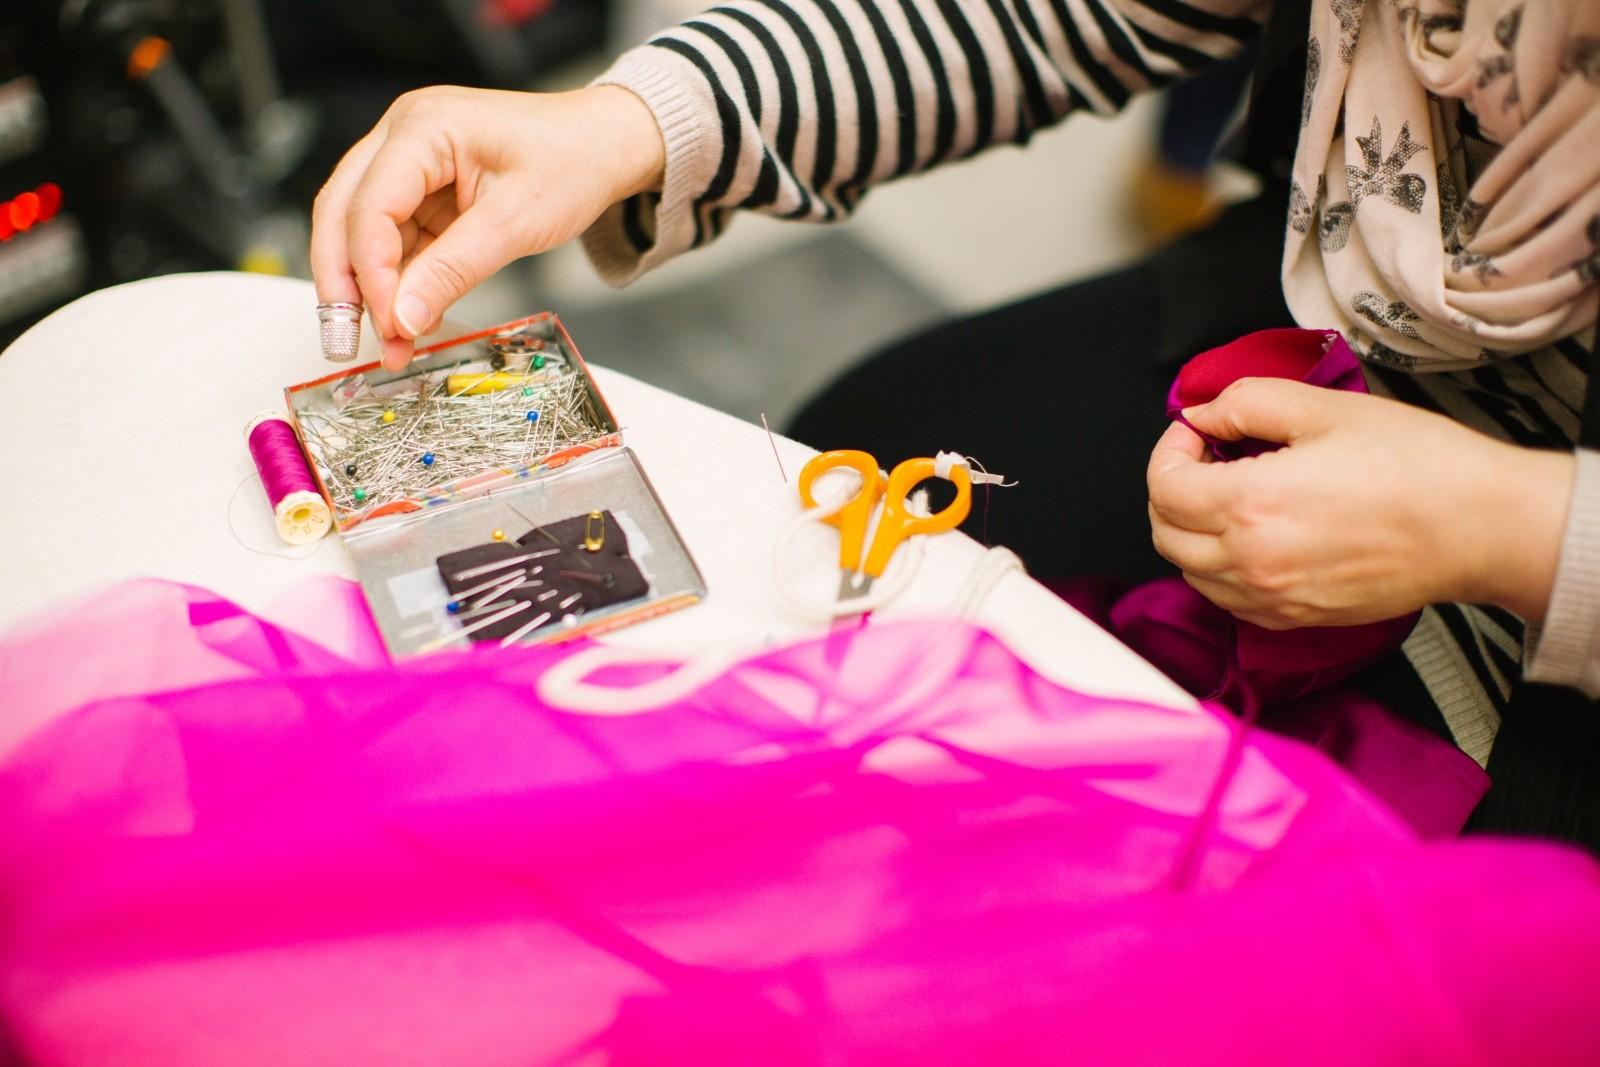
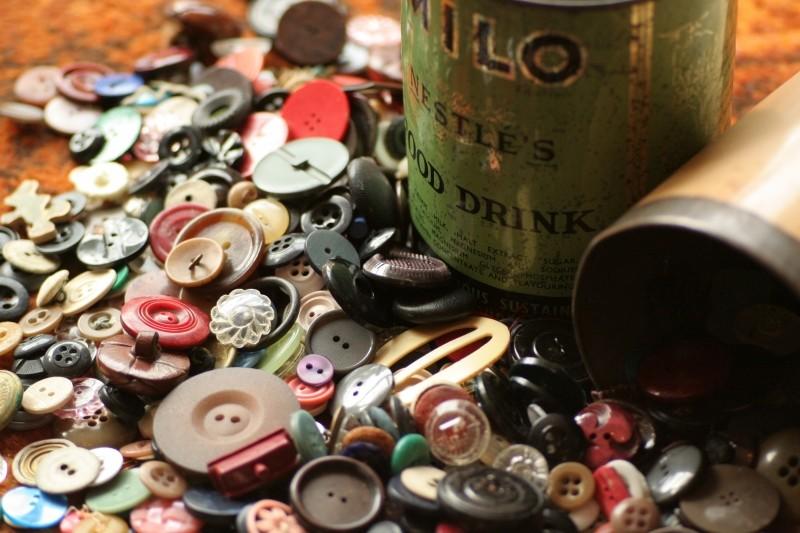
The sewing box torn apart before our eyes, everything is on the carpet and yet: how do you do it?
To stitch straight stitches and have two pieces of fabric coincide with one another, you need an operative guide called the basic pattern.
It is very rare that we look for a pattern willingly ... And since we are making our own clothes and decorative objects, we'll need our very own pattern.
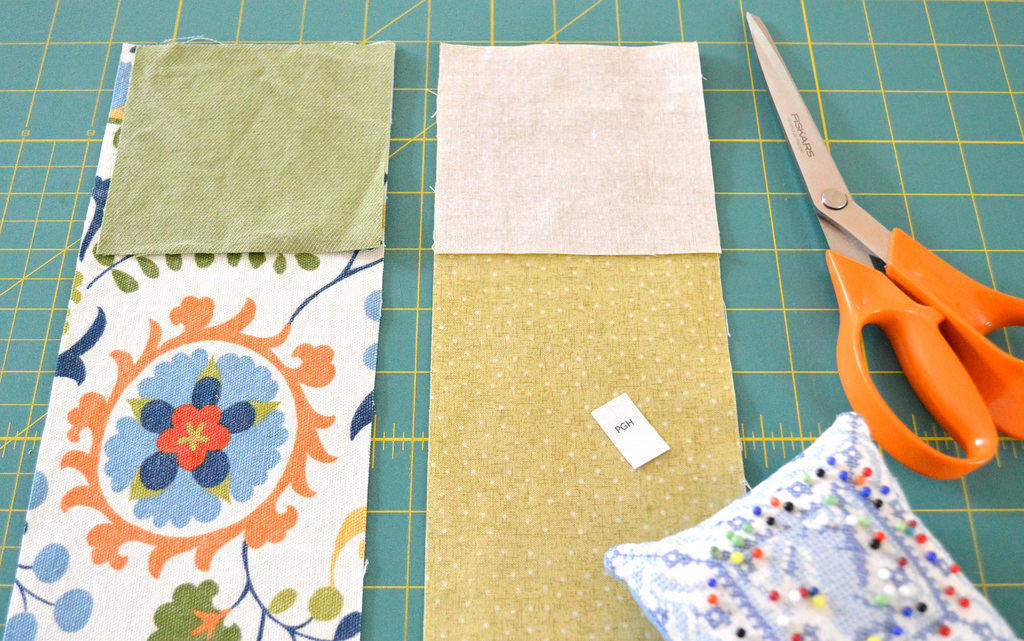
A dozen basic tools will allow us to create our sewing pattern:
- A ruler,
- A pencil,
- A mechanical pencil,
- Sellotape,
- A pair of paper scissors,
- From paper to pattern (sold in rolls of 10 to 15 meters, from £4.90 to £9.90): white pattern paper, squared paper, tissue paper, craft paper,
- A Japanese ruler,
- A set square,
- A French curve,
- A tracing wheel.
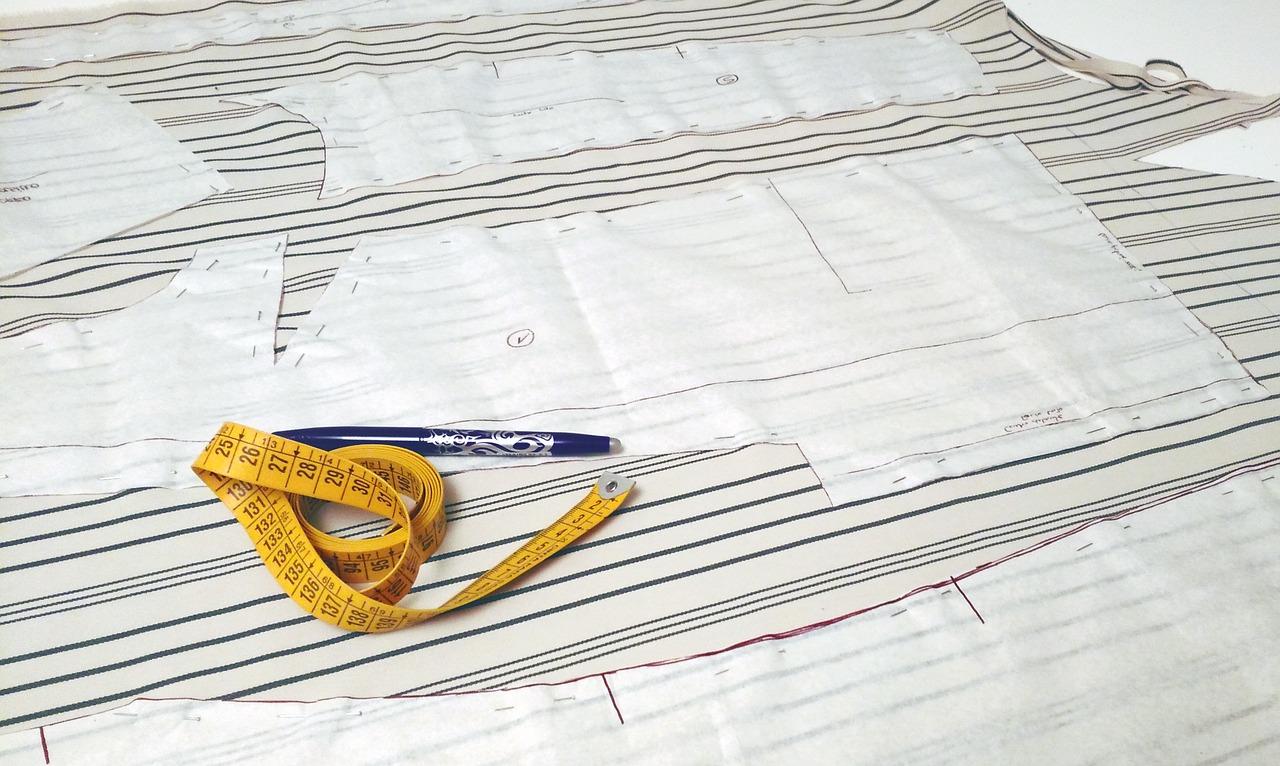
Step one: measurements, model the outline of the future piece to be sewn, in other words take the dimensions from the head to the pelvis, the middle of the shoulder to the chest so you are able to put on the garment later.
Step two: draw the pattern, making sure to name the sides (front, back, sleeves, etc.), to comply with the right angles, the 1cm seam margins, etc.
There are four methods for drawing a new pattern:
- Take an already made pattern: customise a pattern according to its type, by far the easiest technique,
- Duplicate a garment: pin each end of the garment and copy the contours of the dress that you like onto paper,
- Make a custom pattern: put the measurements taken with the measuring tape onto paper, for a personalised cut of fabric and a garment perfectly tailored to the curve and shape of your body,
- Use a sewing mannequin: the molding method, reserved for experienced seamstresses.
Final tip: thanks to the advances in technology, sewing has become a lot easier. Dressmakers and seamstresses in the digital age are now able to use software to create their sewing patterns.
Then bam! As the budding seamstress is sewing, the needle breaks...
How To Choose Your Sewing Machine Needles
To avoid damaging the sewing machine and the needle holder or to make holes in the fabric, choose a good quality sewing needle that is compatible.
It is important not to overlook choosing your needle, because it is one of the key parts of your sewing machine. A needle that is unsuited to the fabric and thread can be a real nightmare for the sewer.
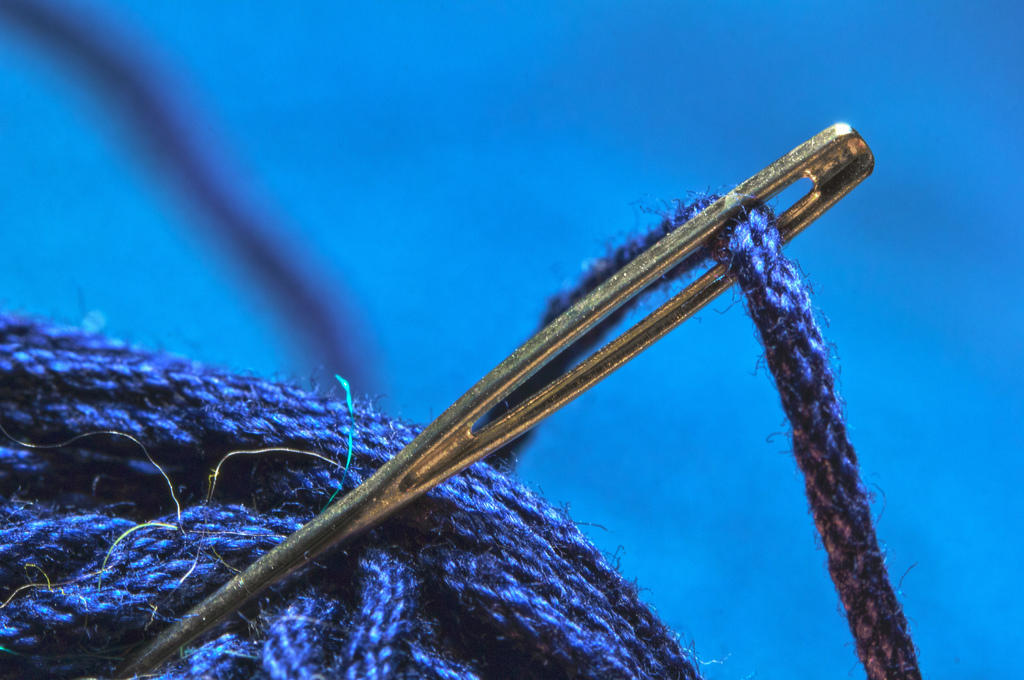
Is finding the right sewing needle like finding a needle in a haystack? One writer wrote that it's easy:
Just burn the haystack and retrieve the needle.
One must first understand a fundamental law of sewing: there is a range of needles for each fabric.
A using needle that is too thick on a thin fabric, or a sewing a thick fabric with a needle that is too thin, can damage the material.
There are indeed several grades of sewing needles on the market, mainly 7 types of needles according to the type of fabric:
- The standard needle,
- The jersey needle,
- The microtex needle,
- The stretch needle,
- The leather needle,
- The jeans and firm fabrics needle,
- The patchowork needle.
It is important to think of each material having its own function, without which the sewing project becomes unfeasible.
As every blood vessel, vein, artery, organ or hormone has its role in the human body, the needle, fabric, sewing thread and the machine all have their own purpose.
This is why it is important to choose the right needle according to the fabric, but also according to the type of sewing thread used.
Since the thickness of the fabric affects the gauge of the needle of the sewing machine, it also requires compatible thread: a thin and fragile thread may fray when passing through the eye of a needle for jeans and firm fabrics if you are sewing denim jeans.
Finally, keep in mind that each new sewing project requires you to know how to change the needle.
How To Use a Sewing Machine
A good sewing machine will completely give you free rein with your creative ideas.
If you spend more time trying to undo a zigzag stitch on your cotton fabric than customising a cushion cover or jumper, it's time to watch some sewing tutorials to learn how to use of your sewing machine properly.
"Set up" your machine before sewing
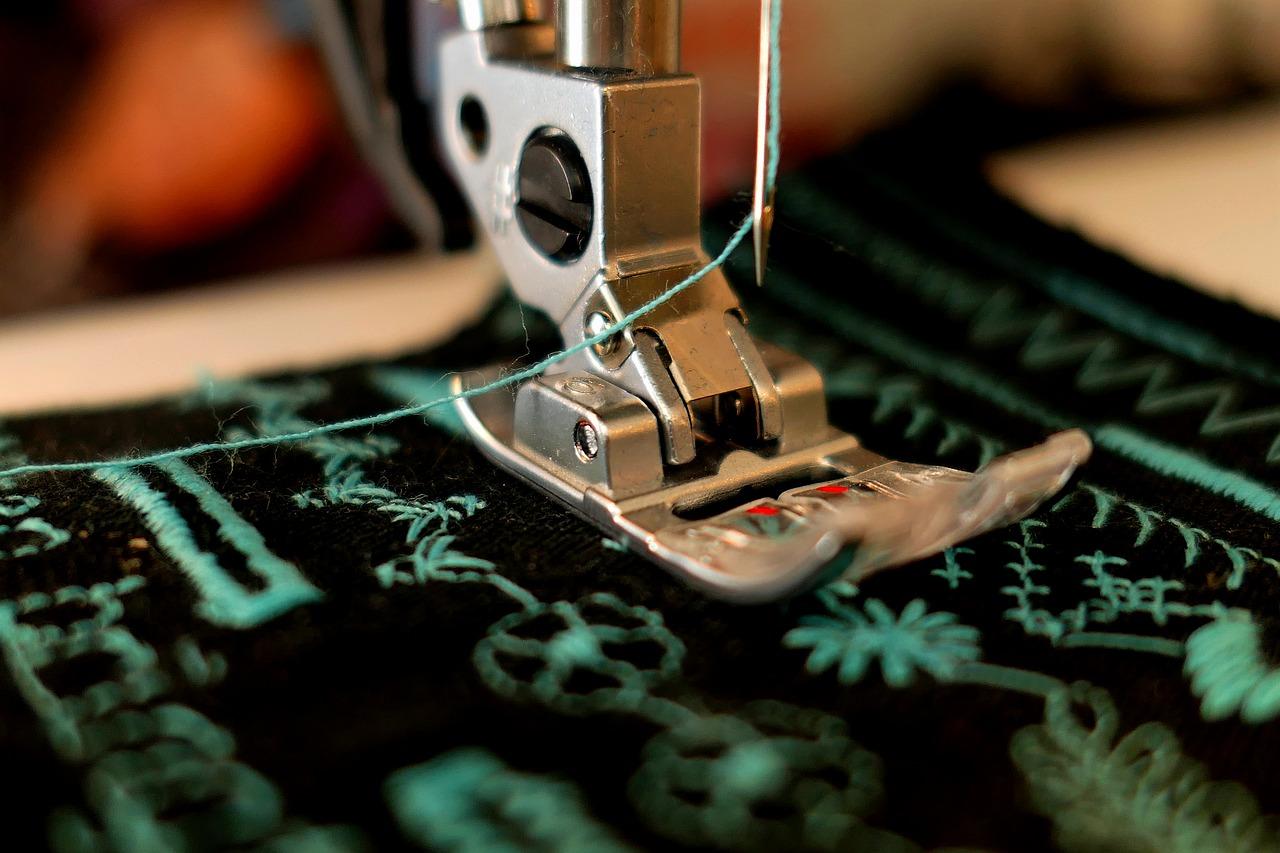
Learning the "anatomy" of a sewing machine, putting it in place and threading it - from the spool of thread to the bobbin through the reel, the thread guide and the eye of the needle - it's not initially obvious.
"Art without technique is invertebrate, shapeless, characterless" said Ignacy Jan Paderewski.
If you feel comfortable using a sewing machine, you still need to know the technique and the role of each part - from the spool pin to the needle plate - possibly in order to repair it, and more generally to have full control of it.
How do you set up a sewing machine?
Firstly you need to insert the sewing needle, with its groove in the direction of the thread, by pushing the needle fully into its base.
Next, feed the bobbin: turn the spool until it is full, then drop it under the needle plate (to provide the needle with the thread underneath).
Lower the thread of the spool towards the eye of the needle: this is called threading.
Sew bit by bit
In order not to miss a step, it is important to practice easy sewing tasks at first.
First sew with scraps of fabric, poor quality or leftover fabric, and learn thedifferent stitches (lockstitch, straight stitch, zigzag stitch, cross stitch, etc.).
Start to do stitches in reverse: it's very useful and often overlooked. And yet, it prevents the seam from fraying. You sew forward, then go back to overcast the fabric.
Improving your skills little by little and proceeding in steps is the best way to succeed in sewing, and make beautiful clothes so you're always dressed to the nines.
What To Do With Leftover Fabric?
Finally, our last tip removes a big thorn from the side of the seamstress: how to make use of your scraps of fabric.
Buying rolls in a fabric store by the meter isn't exactly cheap, especially if you sew frequently.
Rather than piling heaps of fabric cuttings into the bottom of a cupboard never to be seen again until you decide to throw them away, a clever trick is to to recycle your leftover fabrics.
Throwing away even 20% or 30% of your surplus fabric, is that not a rather bitter end for these pretty pieces of fabric?
Freshness can be restored to unused fabrics by turning them into clothes: making a cushion cover with an old curtain, a black dress with an old torn sheet, sewing an invisible hem, etc.
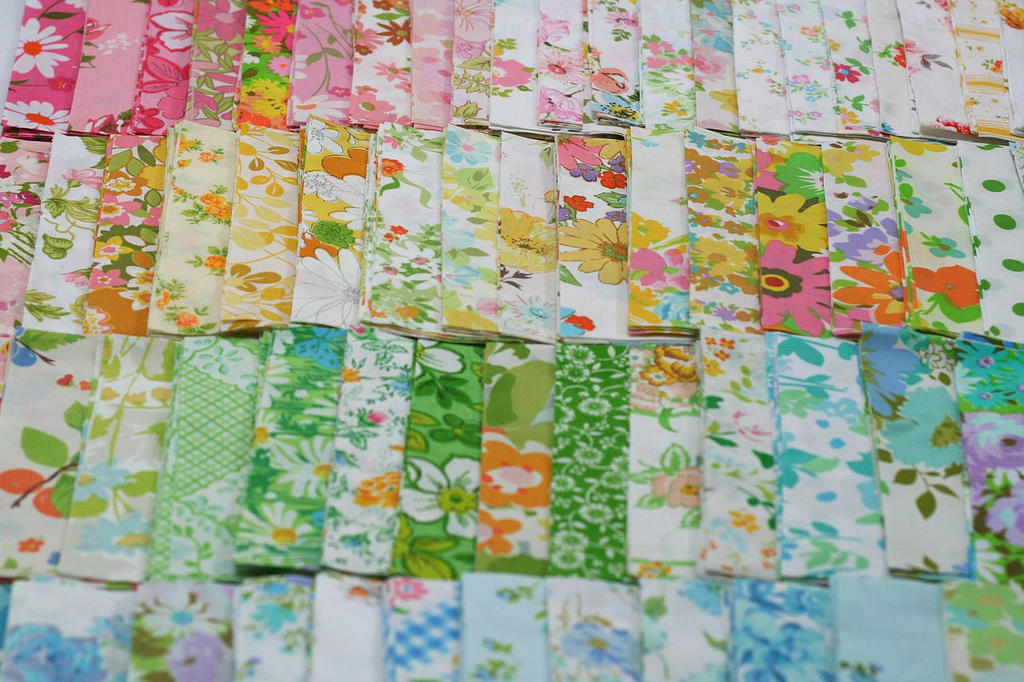
For this, you need to carefully sort the pieces of fabric.
Arrange them by size and colour, make heaps starting from the smallest size to the fabric with the greatest width.
Next, sort from red to blue, pink fabric, black fabric, off-white background, pink background, red background, green fabric, plain gray, plain blue, duck egg blue, etc.
Redesign sewing patterns and resize fabric to sew everyday accessories, small children's clothes or decorative items for the home.
Leftover fabrics can be turned into the most imaginative creations.
Here are some ideas for customising fabric that has been discarded:
- A baby blanket,
- Doll clothes,
- A ball made of patchwork fabric,
- A personalised bookmark,
- A wash bag,
- A photo album cover,
- A wallet,
- A blanket for the winter,
- Pillows,
- Chair covers.
What a great way to please your friends and family for free!
Summarise with AI:
Did you like this article? Leave a rating!